Installing EDB*Plus
You can use an RPM installer or a graphical installer to add EDB*Plus to your Advanced Server installation.
Installation Pre-Requisites
Before installing EDB*Plus, you must first install Java (version 1.7 or later). On a Linux system, you can use the yum package manager to install Java. Open a terminal window, assume superuser privileges, and enter:
On RHEL or CentOS 7:
# yum install javaOn RHEL or CentOS 8:
# dnf install java
If you are using Windows, Java installers and instructions are available online at:
You must also have credentials that allow access to the EnterpriseDB repository. For information about requesting credentials, visit:
After receiving your repository credentials you can:
Create the repository configuration file.
Modify the file, providing your user name and password.
Install EDB*Plus.
Performing an RPM Installation
For detailed information about creating and using EnterpriseDB repositories to install Advanced Server or its supporting components, please see the EDB Postgres Advanced Server Installation Guide, available at:
Creating a Repository Configuration File
To create the repository configuration file, assume superuser privileges, and invoke the following command:
On RHEL or CentOS 7:
yum -y install https://yum.enterprisedb.com/edb-repo-rpms/edb-repo-latest.noarch.rpmOn RHEL or CentOS 8:
dnf -y install https://yum.enterprisedb.com/edb-repo-rpms/edb-repo-latest.noarch.rpm
The repository configuration file is named edb.repo. The file resides in /etc/yum.repos.d.
After creating the edb.repo file, use your choice of editor to ensure that the value of the enabled parameter is 1, and replace the username and password placeholders in the baseurl specification with the name and password of a registered EnterpriseDB user.
[edb]
name=EnterpriseDB RPMs $releasever - $basearch
baseurl=https://<username>:<password>@yum.enterprisedb.com/edb/redhat/rhel-$releasever-$basearch
enabled=1
gpgcheck=1
gpgkey=file:///etc/pki/rpm-gpg/ENTERPRISEDB-GPG-KEY
After saving your changes to the configuration file, you can use the following command to install EDB*Plus:
On RHEL or CentOS 7:
yum install edb-as<version>-edbplusOn RHEL or CentOS 8:
dnf install edb-as<version>-edbplus
Where, version is the Advanced Server version.
When you install an RPM package that is signed by a source that is not recognized by your system, yum may ask for your permission to import the key to your local server. If prompted, and you are satisfied that the packages come from a trustworthy source, enter y, and press Return to continue.
During the installation, yum may encounter a dependency that it cannot resolve. If it does, it will provide a list of the required dependencies that you must manually resolve.
Configuring an RPM Installation
After performing an RPM installation of EDB*Plus, you must set the values of environment variables that allow EDB*Plus to locate your Java installation. Use the following commands to set variable values:
export JAVA_HOME=<path_to_java>export PATH=<path_to_java>/bin:$PATH
By default, the pg_hba.conf file for the RPM installer enforces IDENT
authentication. Before invoking EDB*Plus, you must either modify the
pg_hba.conf file, changing the authentication method to a form other
than IDENT (and restarting the server), or perform the following steps
to ensure that an IDENT server is accessible:
You must confirm that an identd server is installed and running. You can
use the yum package manager to install an identd server by invoking the
command:
On RHEL or CentOS 7:
yum install xinetd authdOn RHEL or CentOS 8:
dnf install xinetd authd
The command should create a file named /etc/xinetd.d/auth that contains:
service auth
{
disable = yes
socket_type = stream
wait =no
user = ident
cps = 4096 10
instances = UNLIMITED
server = /usr/sbin/in.authd server_args = -t60 --xerror –os
}
Note
if the file includes a -E argument at the end of the server arguments, please erase -E.
Then, to start the identd server, invoke the following commands:
systemctl enable xinetd
systemctl start xinetd
Open the pg_ident.conf file and create a user mapping:
# map_name    system_username     postgres_username
  edbas         enterprisedb        enterprisedb
Where:
The name specified in the
map_namecolumn is a user-defined name that will identify the mapping in thepg_hba.conffile.The name specified in the
system_usernamecolumn isenterprisedb.The name specified in the
postgres_usernamecolumn isenterprisedb.
Then, open the pg_hba.conf file and modify the IDENT entries:
If you are using an IPv4 local connection, modify the file entry to read:
host all all 127.0.0.0/0 ident map=edbasIf you are using an IPv6 local connection, modify the file entry to read:
host all all ::1/128 ident map=edbas
You must restart the Advanced Server service before invoking EDB*Plus. For detailed information about controlling the Advanced Server service, see the EDB Postgres Advanced Server Installation Guide, available at:
Using the Graphical Installer
Graphical installers for EDB*Plus are available via StackBuilder Plus; you can access StackBuilder Plus through your Windows or Linux start menu. After opening StackBuilder Plus and selecting the installation for which you wish to install EDB*Plus, expand the component selection screen tree control to select and download the EDB*Plus installer.
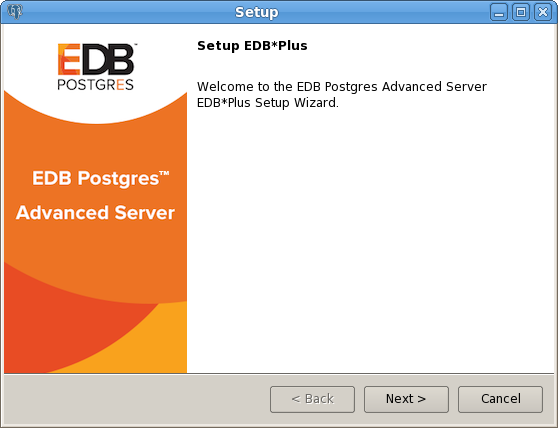
The EDB*Plus Welcome window
The EDB*Plus installer welcomes you to the setup wizard, as shown in the figure below.
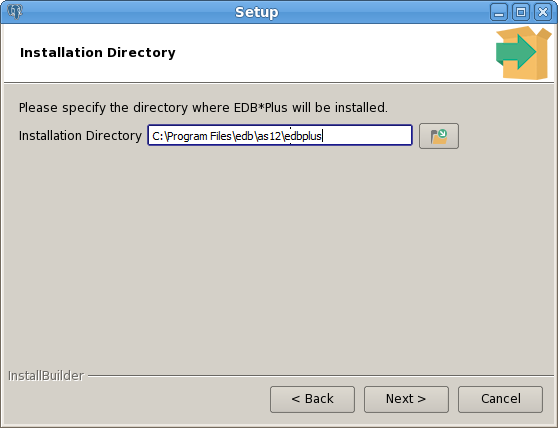
The Installation Directory window
Use the Installation Directory field to specify the directory in which
you wish to install the EDB*Plus software. Then, click
Next to continue.

The Advanced Server Installation Details window
Use fields on the EDB Postgres Advanced Server Installation Details
window to identify the location of the Advanced Server
host:
Use the Host field to identify the system on which Advanced Server resides.
Use the Port field to identify the listener port that Advanced Server monitors for client connections.
Then, click Next to continue.
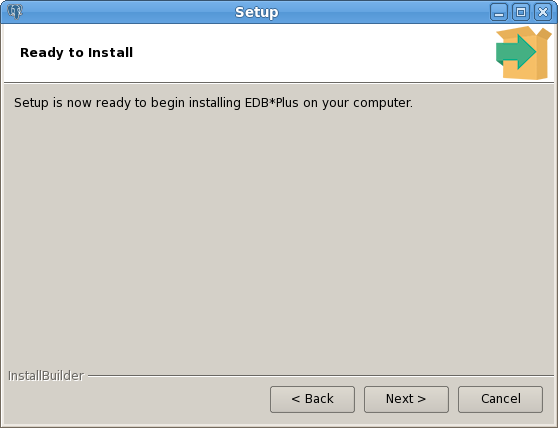
The Ready to Install window
The Ready to Install window notifies you when the
installer has all of the information needed to install EDB*Plus on your
system. Click Next to install EDB*Plus.
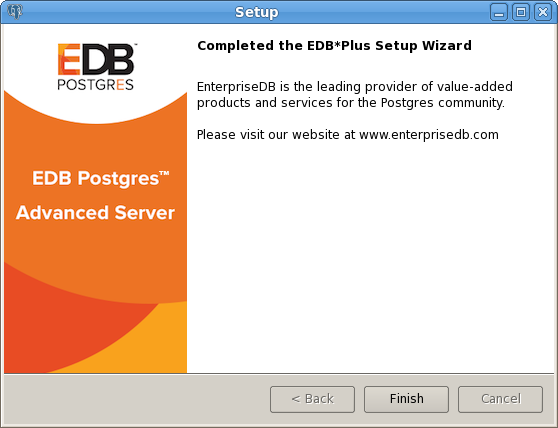
The installation is complete
The installer notifies you when the setup wizard has completed the
EDB*Plus installation. Click Finish to exit the
installer.