インストールEDB*プラス
RPMインストーラーまたはグラフィカルインストーラーを使用して、EDB*PlusをAdvancedServerインストールに追加できます。
インストールの前提条件
EDB*Plusをインストールする前に、まずJava(バージョン1.7以降)をインストールする必要があります。Linuxシステムでは、yumパッケージマネージャーを使用してJavaをインストールできます。ターミナルウィンドウを開き、スーパーユーザー権限を引き受け、次のように入力します。
RHELまたはCentOS7の場合:
# yum install javaRHELまたはCentOS8の場合:
# dnf install java
Windowsを使用している場合、Javaインストーラーと手順は次のサイトからオンラインで入手できます。
EnterpriseDBリポジトリへのアクセスを許可する資格情報も必要です。資格情報のリクエストについては、次のURLにアクセスしてください。
リポジトリの資格情報を受け取ったら、次のことができます。
リポジトリ構成ファイルを作成します。
ユーザー名とパスワードを指定して、ファイルを変更します。
EDB*Plusをインストールします。
RPMインストールの実行
EnterpriseDBリポジトリを作成および使用してAdvancedServerまたはそのサポートコンポーネントをインストールする方法の詳細については、次のURLにある*EDBPostgresAdvancedServerインストールガイド*を参照してください。
リポジトリ設定ファイルの作成
リポジトリー構成ファイルを作成するには、スーパーユーザー特権を想定して、次のコマンドを呼び出します。
RHELまたはCentOS7の場合:
yum -y install https://yum.enterprisedb.com/edb-repo-rpms/edb-repo-latest.noarch.rpmRHELまたはCentOS8の場合:
dnf -y install https://yum.enterprisedb.com/edb-repo-rpms/edb-repo-latest.noarch.rpm
リポジトリ設定ファイルの名前は edb.repo です。ファイルは /etc/yum.repos.d にあります。
After creating the edb.repo file, use your choice of editor to ensure that the value of the enabled parameter is 1, and replace the username and password placeholders in the baseurl specification with the name and password of a registered EnterpriseDB user.
[edb]
name=EnterpriseDB RPMs $releasever - $basearch
baseurl=https://<username>:<password>@yum.enterprisedb.com/edb/redhat/rhel-$releasever-$basearch
enabled=1
gpgcheck=1
gpgkey=file:///etc/pki/rpm-gpg/ENTERPRISEDB-GPG-KEY
構成ファイルへの変更を保存した後、次のコマンドを使用してEDB*Plusをインストールできます。
RHELまたはCentOS7の場合:
yum install edb-as<version>-edbplusRHELまたはCentOS8の場合:
dnf install edb-as<version>-edbplus
ここで、*version*はAdvancedServerのバージョンです。
システムで認識されないソースによって署名されたRPMパッケージをインストールすると、yumはローカルサーバーにキーをインポートする許可を要求する場合があります。プロンプトが表示され、パッケージが信頼できるソースからのものであることに満足したら、 y を入力し、 Return を押して続行します。
インストール中に、yumは解決できない依存関係に遭遇する可能性があります。含まれている場合は、手動で解決する必要がある必要な依存関係のリストが表示されます。
RPMインストールの構成
EDB*PlusのRPMインストールを実行した後、EDB*PlusがJavaインストールを検索できるようにする環境変数の値を設定する必要があります。次のコマンドを使用して、変数値を設定します。
export JAVA_HOME=<path_to_java>export PATH=<path_to_java>/bin:$PATH
By default, the pg_hba.conf file for the RPM installer enforces IDENT
authentication. Before invoking EDB*Plus, you must either modify the
pg_hba.conf file, changing the authentication method to a form other
than IDENT (and restarting the server), or perform the following steps
to ensure that an IDENT server is accessible:
You must confirm that an identd server is installed and running. You can
use the yum package manager to install an identd server by invoking the
command:
RHELまたはCentOS7の場合:
yum install xinetd authdRHELまたはCentOS8の場合:
dnf install xinetd authd
コマンドは以下を含む /etc/xinetd.d/auth という名前のファイルを作成する必要があります:
service auth
{
disable = yes
socket_type = stream
wait =no
user = ident
cps = 4096 10
instances = UNLIMITED
server = /usr/sbin/in.authd server_args = -t60 --xerror –os
}
注釈
if the file includes a -E argument at the end of the server arguments, please erase -E.
次に、 identd サーバーを起動するには、次のコマンドを呼び出します:
systemctl enable xinetd
systemctl start xinetd
pg_ident.conf ファイルを開き、ユーザーマッピングを作成します:
# map_name    system_username     postgres_username
  edbas         enterprisedb        enterprisedb
どこ:
map_name列に指定された名前は、pg_hba.confファイル内のマッピングを識別するユーザー定義の名前です。system_username列に指定された名前はenterprisedbです。postgres_username列に指定された名前はenterprisedbです。
次に、 pg_hba.conf ファイルを開き、IDENTエントリを変更します。
IPv4ローカル接続を使用している場合は、次のようにファイルエントリを変更します。
host all all 127.0.0.0/0 ident map=edbasIPv6ローカル接続を使用している場合は、ファイルエントリを次のように変更します。
host all all::1/128 ident map=edbas
EDB*Plusを起動する前に、AdvancedServerサービスを再起動する必要があります。AdvancedServerサービスの制御の詳細については、次の場所にある*EDBPostgresAdvancedServerインストールガイド*を参照してください。
グラフィカルインストーラーの使用
EDB*PlusのグラフィカルインストーラーはStackBuilderPlus経由で利用できます。StackBuilderPlusには、WindowsまたはLinuxのスタートメニューからアクセスできます。StackBuilderPlusを開き、EDB*Plusをインストールするインストールを選択したら、コンポーネント選択画面のツリーコントロールを展開して、EDB*Plusインストーラーを選択してダウンロードします。
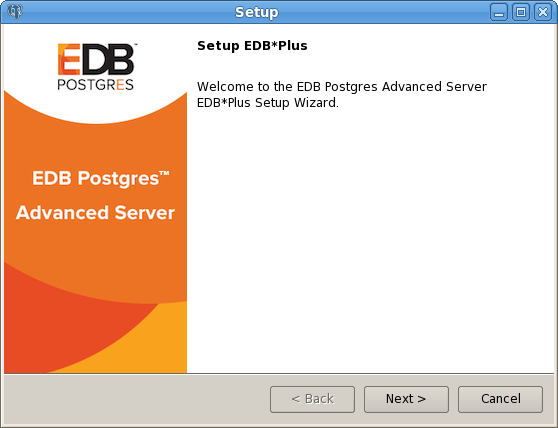
EDB*Plusウェルカムウィンドウ
次の図に示すように、EDB*Plusインストーラーはセットアップウィザードにようこそ。
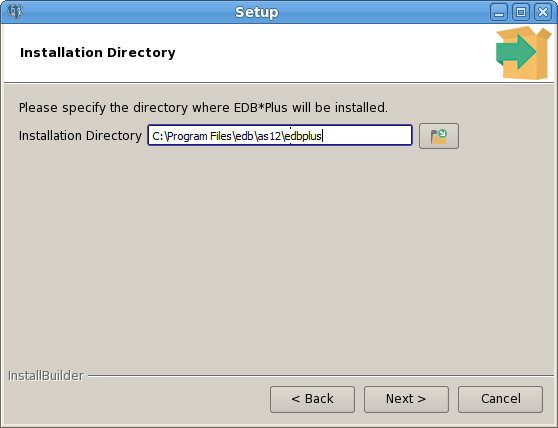
インストールディレクトリウィンドウ
Installation Directory フィールドを使用して、EDB*Plusソフトウェアをインストールするディレクトリを指定します。次に、 Next をクリックして続行します。

[詳細サーバーインストールの詳細]ウィンドウ
EDB Postgres Advanced Server Installation Details ウィンドウのフィールドを使用して、AdvancedServerホストの場所を特定します。
``ホスト``フィールドを使用して、AdvancedServerが常駐するシステムを識別します。
[ポート]フィールドを使用して、AdvancedServerがクライアント接続を監視するリスナーポートを識別します。
次に、 Next をクリックして続行します。
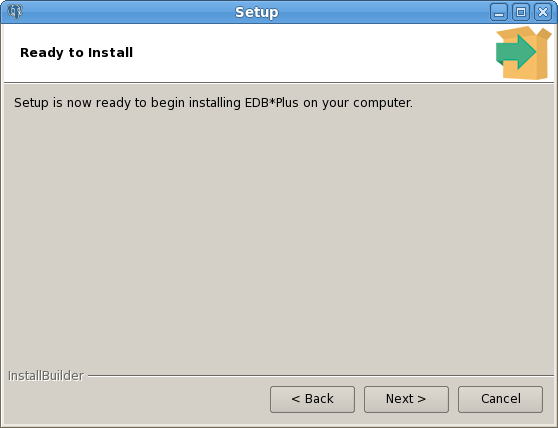
[インストールの準備完了]ウィンドウ
インストールの準備ウィンドウは、システムにEDB*Plusをインストールするために必要なすべての情報がインストーラーにあることを通知します。EDB*Plusをインストールするには、 Next をクリックします。
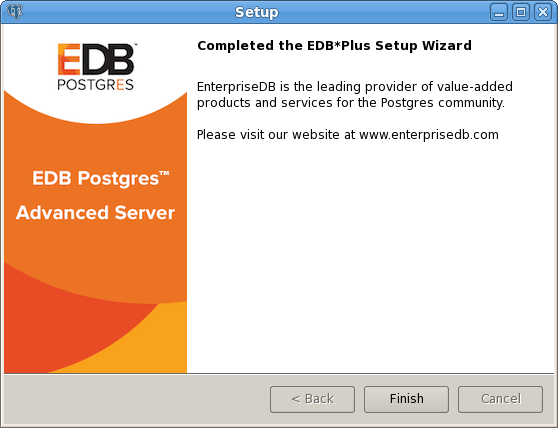
インストールが完了しました
インストーラーは、セットアップウィザードがEDB*Plusのインストールを完了すると通知します。 Finish をクリックしてインストーラーを終了します。