OCLコネクタのインストールと設定
RPMパッケージ、ネイティブパッケージ、またはグラフィカルインストーラーを使用して、OCLコネクタをインストールまたは更新できます。
RPMパッケージを使用したコネクタのインストール
OCL Connector をインストールする前に:
epel-release パッケージをインストールします:
RHELまたはCentOS7の場合:
yum -y install https://dl.fedoraproject.org/pub/epel/epel-release-latest-7.noarch.rpmRHELまたはCentOS8の場合:
dnf -y install https://dl.fedoraproject.org/pub/epel/epel-release-latest-7.noarch.rpm
注釈
( /etc/yum.repos.d にある) CentOS-Base.repo ファイルの [extras] リポジトリ定義を有効にする必要があるかもしれません。
EnterpriseDBリポジトリへのアクセスを許可する資格情報も必要です。資格情報のリクエストについては、次のURLにアクセスしてください。
リポジトリの資格情報を受け取ったら、次のことができます。
リポジトリ構成ファイルを作成します。
ユーザー名とパスワードを指定して、ファイルを変更します。
edb-ociをインストールします。
リポジトリ設定ファイルの作成
リポジトリー構成ファイルを作成するには、スーパーユーザー特権を想定して、次のコマンドを呼び出します。
RHELまたはCentOS7の場合:
yum -y install https://yum.enterprisedb.com/edb-repo-rpms/edb-repo-latest.noarch.rpmRHELまたはCentOS8の場合:
dnf -y install https://yum.enterprisedb.com/edb-repo-rpms/edb-repo-latest.noarch.rpm
リポジトリ設定ファイルの名前は edb.repo です。ファイルは /etc/yum.repos.d にあります。
ファイルを変更し、ユーザー名とパスワードを提供します
After creating the edb.repo file, use your choice of editor to ensure that the value of the enabled parameter is 1, and replace the username and password placeholders in the baseurl specification with the name and password of a registered EnterpriseDB user.
[edb]
name=EnterpriseDB RPMs $releasever - $basearch
baseurl=https://<username>:<password>@yum.enterprisedb.com/edb/redhat/rhel-$releasever-$basearch
enabled=1
gpgcheck=1
gpgkey=file:///etc/pki/rpm-gpg/ENTERPRISEDB-GPG-KEY
OCLコネクタのインストール
After saving your changes to the configuration file, you can use the yum install command to install OCL Connector. For example, the following command installs OCL Connector:
RHELまたはCentOS7の場合:
yum install edb-ociyum install edb-oci-develRHELまたはCentOS8の場合:
dnf install edb-ocidnf install edb-oci-devel
システムで認識されないソースによって署名されたRPMパッケージをインストールすると、yumはローカルサーバーにキーをインポートする許可を要求する場合があります。プロンプトが表示され、パッケージが信頼できるソースからのものであることに満足したら、 y を入力し、 Return を押して続行します。
インストール中に、yumは解決できない依存関係に遭遇する可能性があります。含まれている場合は、手動で解決する必要がある必要な依存関係のリストが表示されます。
RPMインストールの更新
既存の OCL Connector RPMインストールがある場合は、yumまたはdnfを使用してリポジトリー構成ファイルをアップグレードし、より新しい製品バージョンに更新できます。 edb.repo ファイルを更新するには、スーパーユーザー権限を引き受け、次のように入力します:
RHELまたはCentOS7の場合:
yum upgrade edb-repoRHELまたはCentOS8の場合:
dnf upgrade edb-repo
yum or dnf will update the edb.repo file to enable access to the current EDB repository, configured to connect with the credentials specified in your edb.repo file. Then, you can use yum to upgrade any installed packages:
RHELまたはCentOS7の場合:
yum upgrade edb-ociyum upgrade edb-oci-develRHELまたはCentOS8の場合:
dnf upgrade edb-ocidnf upgrade edb-oci-devel
SLES12ホストへのコネクターのインストール
zypperパッケージマネージャーを使用して、SLES12ホストにコネクタをインストールできます。zypperは、パッケージをインストールするときにパッケージの依存関係を満たすよう試みますが、EnterpriseDBでホストされていない特定のリポジトリへのアクセスが必要です。コネクタをインストールする前に、次のコマンドを使用してEnterpriseDBリポジトリ構成ファイルをSLESホストに追加します。
zypper addrepo https://zypp.enterprisedb.com/suse/epas12-sles.repozypper addrepo https://zypp.enterprisedb.com/suse/epas-sles-tools.repozypper addrepo https://zypp.enterprisedb.com/suse/epas-sles-dependencies.repo
各コマンドはリポジトリ設定ファイルを /etc/zypp/repos.d ディレクトリに作成します。ファイルの名前は次のとおりです。
edbas12suse.repoedbasdependencies.repoedbastools.repo
リポジトリ設定ファイルを作成したら、 zypper refresh コマンドを使用してSLESホストのメタデータを更新し、EnterpriseDBリポジトリを含めます。
/etc/zypp/repos.d # zypper refresh
Repository 'SLES12-12-0' is up to date.
Repository 'SLES12-Pool' is up to date.
Repository 'SLES12-Updates' is up to date.
Retrieving repository 'EDB Postgres Advanced Server 12 12 - x86_64'
metadata -----------------------[\]

Authentication required for
'https://zypp.enterprisedb.com/12/suse/suse-12-x86_64'
User Name:
Password:

Retrieving repository 'EDB Postgres Advanced Server 12 12 - x86_64'
metadata...................................[done]
Building repository 'EDB Postgres Advanced Server 12 12 - x86_64'
cache..........................[done]
All repositories have been refreshed.
...
User Name と Password の入力を求められたら、EnterpriseDBリポジトリの接続認証情報を入力します。資格情報が必要な場合は、`EnterpriseDBにお問い合わせください<https://www.enterprisedb.com/repository-access-request/>`_。
EDBPostgresAdvancedServerまたはサポートコンポーネントをインストールする前に、SUSEConnectとSUSEPackageHub拡張をSLESホストに追加し、ホストをSUSEに登録して、SUSEリポジトリへのアクセスを許可する必要があります。次のコマンドを使用します。
zypper install SUSEConnectSUSEConnect -p PackageHub/12/x86_64SUSEConnect -p sle-sdk/12/x86_64
SUSEホストの登録の詳細については、`SUSEWebサイトにアクセスしてください。<https://www.suse.com/support/kb/doc/?id=7016626>`_。
次に、zypperユーティリティを使用してコネクタをインストールします。
zypper install edb-oci
zypper install edb-oci-devel
DebianまたはUbuntuホストへのDEBパッケージのインストール
DebianまたはUbuntuホストにDEBパッケージをインストールするには、EnterpriseDBリポジトリへのアクセスを許可する資格情報が必要です。リポジトリの認証情報をリクエストするには、`EDBWebサイトにアクセスしてください<https://www.enterprisedb.com/repository-access-request>`_。
次の手順では、EnterpriseDBaptリポジトリを使用してDEBパッケージをインストールする方法について説明します。コマンドを使用する場合、 username と password をEnterpriseDBによって提供される資格情報に置き換えます。
スーパーユーザー権限を想定します。
sudo su –EnterpriseDBリポジトリを設定します。
sh -c 'echo "deb
https://username:password@apt.enterprisedb.com/$(lsb_release
-cs)-edb/ $(lsb_release -cs) main" >
/etc/apt/sources.list.d/edb-$(lsb_release -cs).list'
安全なAPTリポジトリのサポートをシステムに追加します。
apt-get install apt-transport-httpsEBD署名鍵を追加します。
wget -q -O - https://username:password
@apt.enterprisedb.com/edb-deb.gpg.key | apt-key add -
リポジトリのメタデータを更新します。
apt-get updateDEBパッケージをインストールします。
apt-get install edb-ociapt-get install edb-oci-dev
グラフィカルインストーラーを使用したコネクタのインストール
EnterpriseDBコネクタインストールウィザードを使用して、システムにOCLコネクタを追加できます。ウィザードは`EnterpriseDBAdvancedDownloadsページから入手できます<https://www.enterprisedb.com/advanced-downloads>`_。
このセクションでは、インストールウィザードを使用してWindowsシステムにコネクタをインストールする方法を示します。(インストーラーをダウンロードし、インストーラーアイコンを右クリックして、コンテキストメニューから Run As Administrator を選択します)
Language Selection ポップアップが開いたら、インストール言語を選択し、 OK をクリックして Setup ウィンドウに進みます。
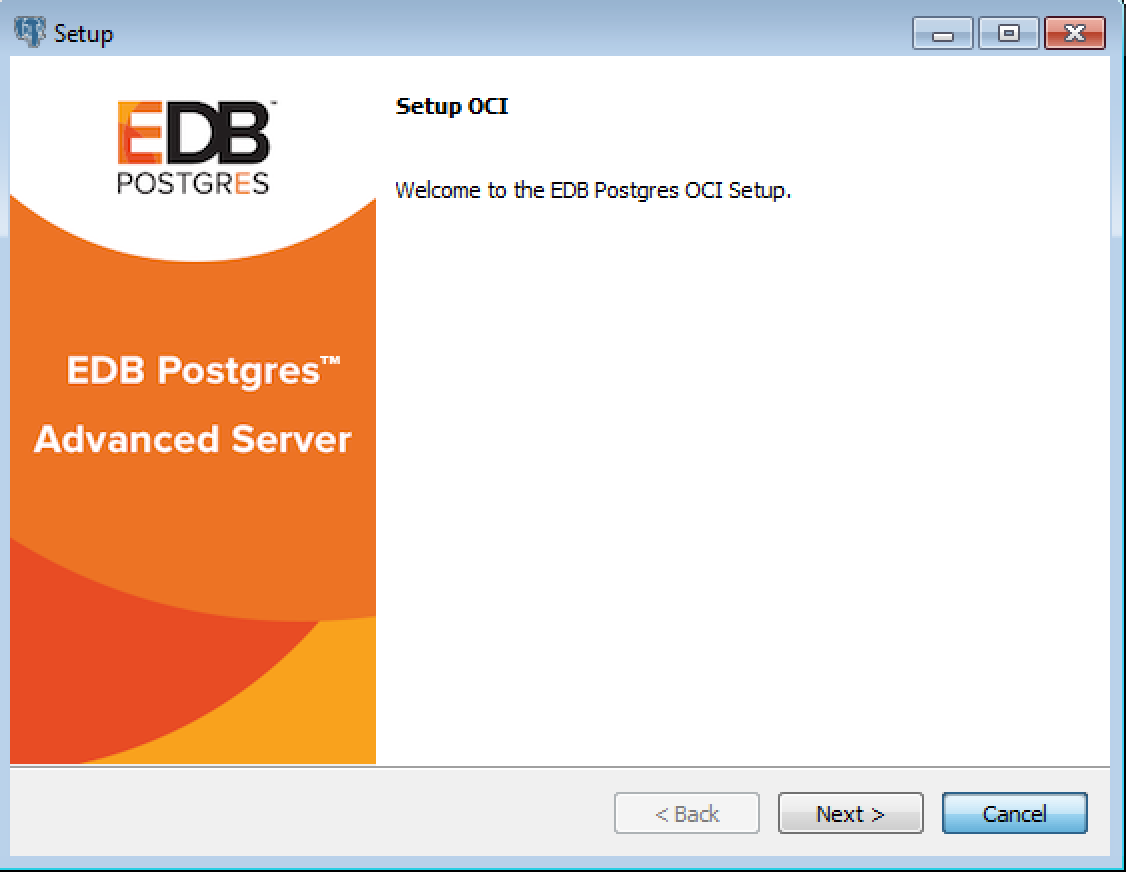
OCLコネクタインストールウィザード
Next をクリックして続行します。
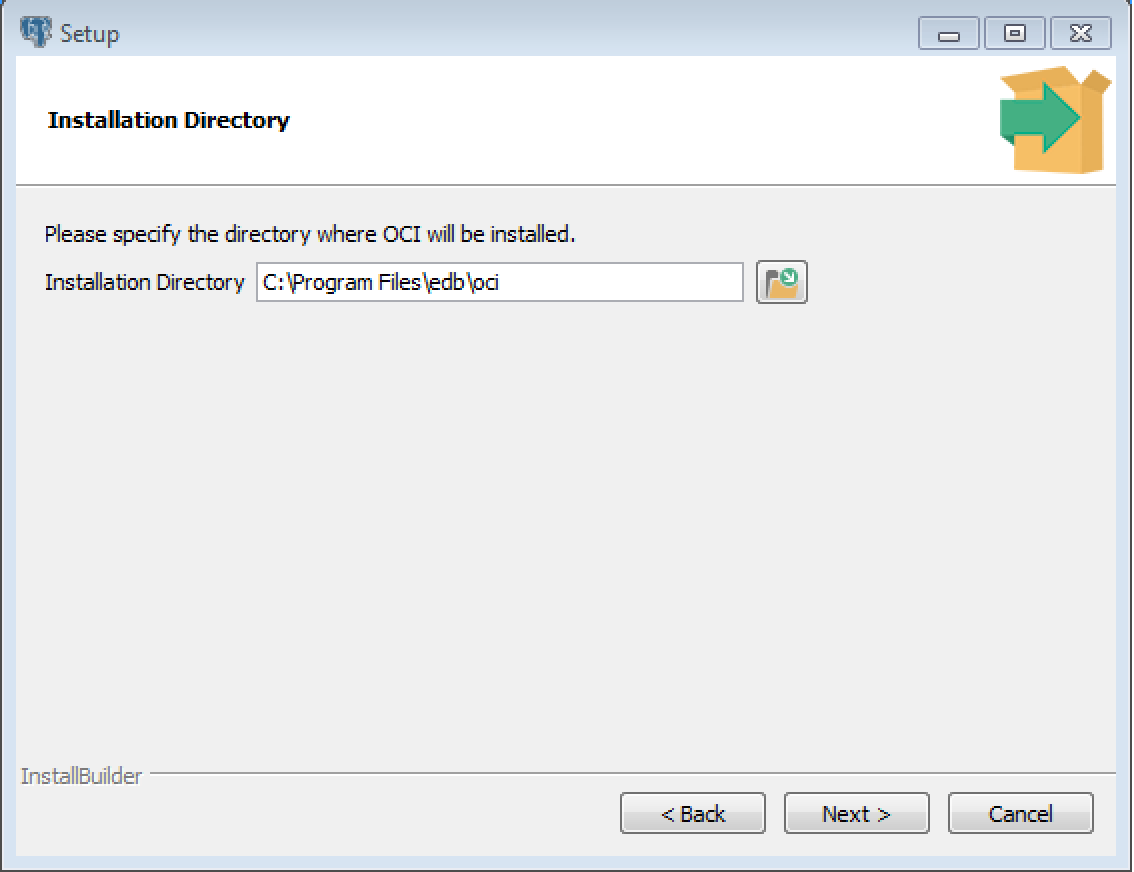
インストールダイアログ
Installation Directory ダイアログを使用してコネクタをインストールするディレクトリを指定し、 Next をクリックして続行します。
インストールの準備ダイアログ
Ready to Install ダイアログの Next をクリックしてインストールを開始します。ポップアップダイアログは、インストールウィザードの進行状況を確認します。
インストールが完了しました
セットアップが完了したことがウィザードから通知されたら、 Finish ボタンをクリックしてダイアログを終了します。
StackBuilderPlusを使用して、既存のAdvancedServerインストールでコネクタを追加または更新することもできます。StackBuilderPlusを開くには、Windowsの Apps メニューから、またはLinuxの Applications メニューからStackBuilderPlusを選択します。
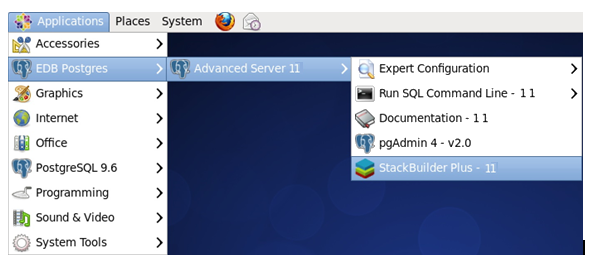
StackBuilderPlusの起動
StackBuilderPlusが開いたら、画面の指示に従います。ツリーコントロールの Database Drivers ノードから EnterpriseDB OCI Connector オプションを選択します。
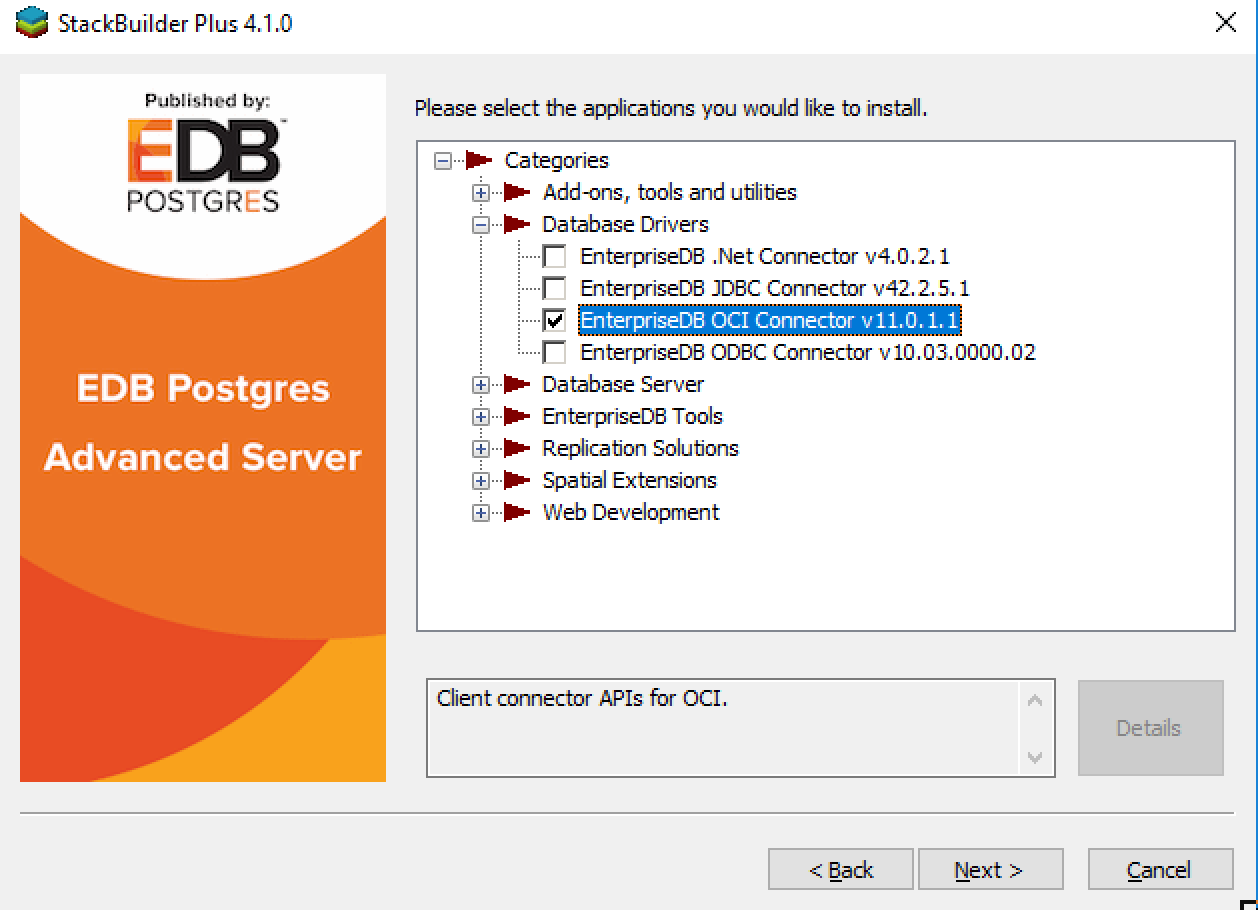
コネクターインストーラーの選択
画面上のウィザードの指示に従って、EnterpriseDBコネクタのインストールを追加または更新します。