Installing and Configuring the OCL Connector
You can use an RPM package, a native package, or a graphical installer to install or update the OCL connector.
Installing the Connector with an RPM Package
Before installing OCL Connector, you must:
Install the epel-release package:
yum -y install https://dl.fedoraproject.org/pub/epel/epel-release-latest-7.noarch.rpm
Note
You may need to enable the [extras] repository definition in the CentOS-Base.repo file (located in /etc/yum.repos.d).
You must also have credentials that allow access to the EnterpriseDB repository. For information about requesting credentials, visit:
After receiving your repository credentials you can:
Create the repository configuration file.
Modify the file, providing your user name and password.
Install
edb-oci.
Creating a Repository Configuration File
To create the repository configuration file, assume superuser privileges, and invoke the following command:
yum -y install https://yum.enterprisedb.com/edb-repo-rpms/edb-repo-latest.noarch.rpm
The repository configuration file is named edb.repo. The file resides in /etc/yum.repos.d.
Modifying the file, providing your user name and password
After creating the edb.repo file, use your choice of editor to ensure that the value of the enabled parameter is 1, and replace the username and password placeholders in the baseurl specification with the name and password of a registered EnterpriseDB user.
[edb]
name=EnterpriseDB RPMs $releasever - $basearch
baseurl=https://<username>:<password>@yum.enterprisedb.com/edb/redhat/rhel-$releasever-$basearch
enabled=1
gpgcheck=1
gpgkey=file:///etc/pki/rpm-gpg/ENTERPRISEDB-GPG-KEY
Installing OCL Connector
After saving your changes to the configuration file, you can use the yum install command to install OCL Connector. For example, the following command installs OCL Connector:
yum install edb-oci
yum install edb-oci-devel
When you install an RPM package that is signed by a source that is not recognized by your system, yum may ask for your permission to import the key to your local server. If prompted, and you are satisfied that the packages come from a trustworthy source, enter y, and press Return to continue.
During the installation, yum may encounter a dependency that it cannot resolve. If it does, it will provide a list of the required dependencies that you must manually resolve.
Updating an RPM Installation
If you have an existing OCL Connector RPM installation, you can use yum to upgrade your repository configuration file and update to a more recent product version. To update the edb.repo file, assume superuser privileges and enter:
yum upgrade edb-repo
yum will update the edb.repo file to enable access to the current EDB repository, configured to connect with the credentials specified in your edb.repo file. Then, you can use yum to upgrade any installed packages:
yum install edb-oci
yum install edb-oci-devel
Installing the Connector on an SLES 12 Host
You can use the zypper package manager to install the connector on an SLES 12 host. zypper will attempt to satisfy package dependencies as it installs a package, but requires access to specific repositories that are not hosted at EnterpriseDB. Before installing the connector, use the following commands to add EnterpriseDB repository configuration files to your SLES host:
zypper addrepo https://zypp.enterprisedb.com/suse/epas12-sles.repozypper addrepo https://zypp.enterprisedb.com/suse/epas-sles-tools.repozypper addrepo https://zypp.enterprisedb.com/suse/epas-sles-dependencies.repo
Each command creates a repository configuration file in the
/etc/zypp/repos.d directory. The files are named:
edbas12suse.repoedbasdependencies.repoedbastools.repo
After creating the repository configuration files, use the zypper
refresh command to refresh the metadata on your SLES host to include the
EnterpriseDB repositories:
/etc/zypp/repos.d # zypper refresh
Repository 'SLES12-12-0' is up to date.
Repository 'SLES12-Pool' is up to date.
Repository 'SLES12-Updates' is up to date.
Retrieving repository 'EDB Postgres Advanced Server 12 12 - x86_64'
metadata -----------------------[\]

Authentication required for
'https://zypp.enterprisedb.com/12/suse/suse-12-x86_64'
User Name:
Password:

Retrieving repository 'EDB Postgres Advanced Server 12 12 - x86_64'
metadata...................................[done]
Building repository 'EDB Postgres Advanced Server 12 12 - x86_64'
cache..........................[done]
All repositories have been refreshed.
...
When prompted for a User Name and Password, provide your connection
credentials for the EnterpriseDB repository. If you need credentials,
contact EnterpriseDB.
Before installing EDB Postgres Advanced Server or supporting components, you must also add SUSEConnect and the SUSE Package Hub extension to the SLES host, and register the host with SUSE, allowing access to SUSE repositories. Use the commands:
zypper install SUSEConnectSUSEConnect -p PackageHub/12/x86_64SUSEConnect -p sle-sdk/12/x86_64
For detailed information about registering a SUSE host, visit the SUSE website.
Then, you can use the zypper utility to install the connector:
zypper install edb-oci
zypper install edb-oci-devel
Installing a DEB Package on a Debian or Ubuntu Host
To install a DEB package on a Debian or Ubuntu host, you must have credentials that allow access to the EnterpriseDB repository. To request credentials for the repository, visit the EDB website.
The following steps will walk you through on using the EnterpriseDB apt
repository to install a DEB package. When using the commands, replace
the username and password with the credentials provided by EnterpriseDB.
Assume superuser privileges:
sudo su –Configure the EnterpriseDB repository:
sh -c 'echo "deb
https://username:password@apt.enterprisedb.com/$(lsb_release
-cs)-edb/ $(lsb_release -cs) main" >
/etc/apt/sources.list.d/edb-$(lsb_release -cs).list'
Add support to your system for secure APT repositories:
apt-get install apt-transport-httpsAdd the EBD signing key:
wget -q -O - https://username:password
@apt.enterprisedb.com/edb-deb.gpg.key | apt-key add -
Update the repository metadata:
apt-get updateInstall DEB package:
apt-get install edb-ociapt-get install edb-oci-dev
Using the Graphical Installer to Install the Connector
You can use the EnterpriseDB Connectors Installation wizard to add the OCL connector to your system; the wizard is available from the EnterpriseDB Advanced Downloads page.
This section demonstrates using the Installation Wizard to install the
Connectors on a Windows system. (Download the installer, and then,
right-click on the installer icon, and select Run As Administrator from
the context menu.)
When the Language Selection popup opens, select an installation language
and click OK to continue to the Setup window.
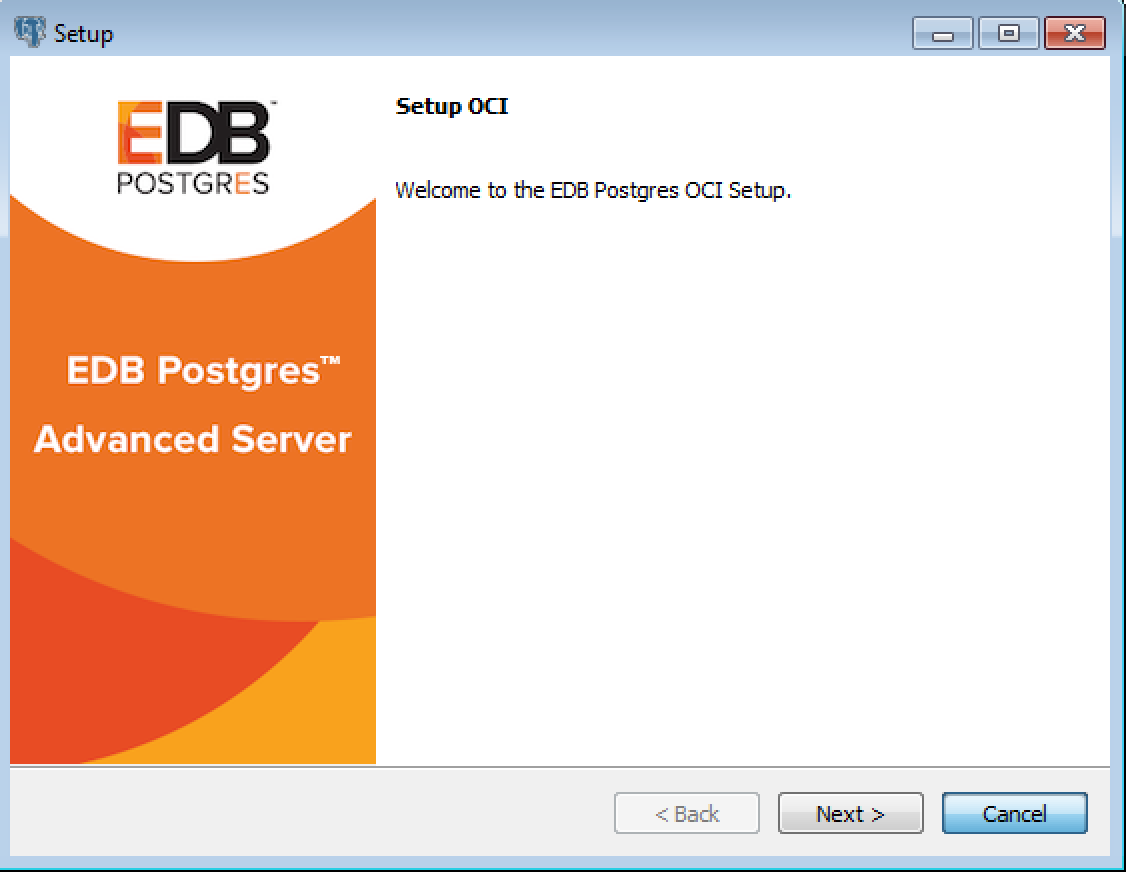
The OCL Connector Installation wizard
Click Next to continue.
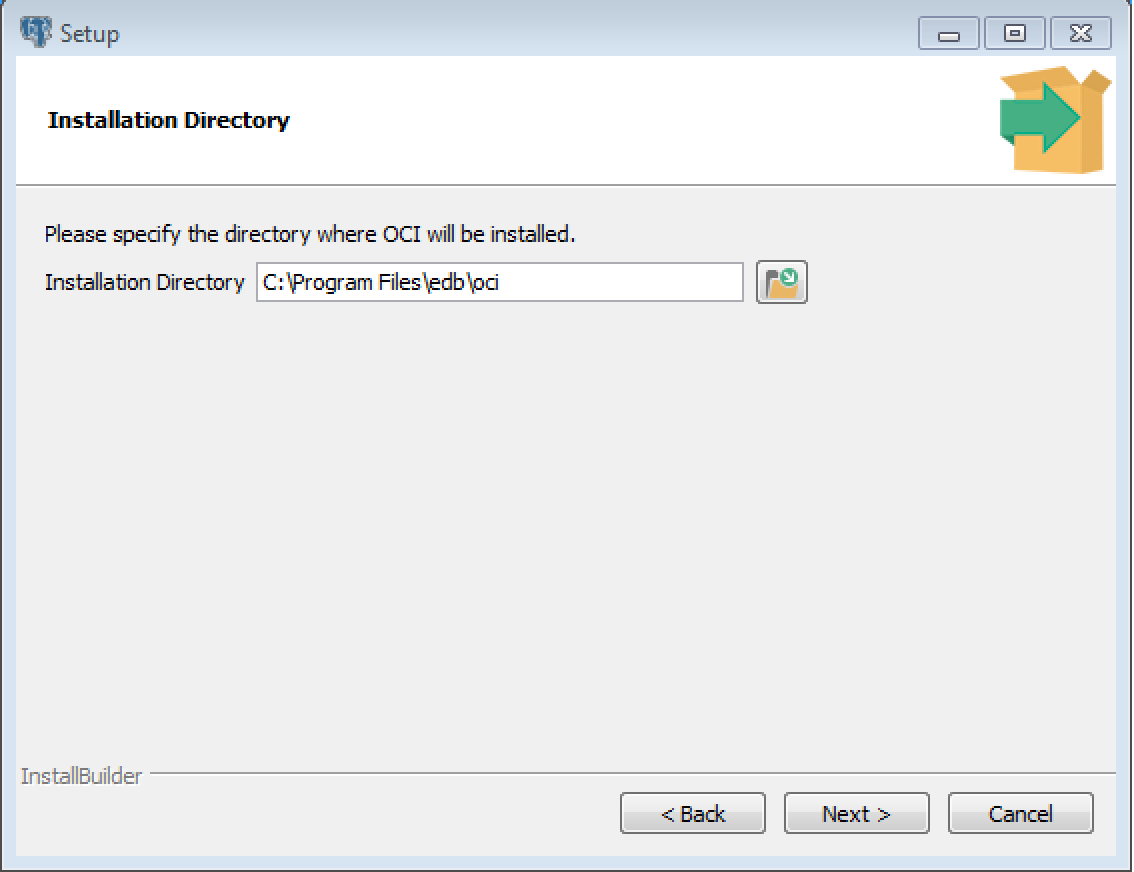
The Installation dialog
Use the Installation Directory dialog to specify the
directory in which the connector will be installed, and click Next to
continue.
The Ready to Install dialog
Click Next on the Ready to Install dialog to start the
installation; popup dialogs confirm the progress of the installation
wizard.
The installation is complete
When the wizard informs you that it has completed the setup, click the
Finish button to exit the dialog.
You can also use StackBuilder Plus to add or update the connector on an
existing Advanced Server installation; to open StackBuilder Plus, select
StackBuilder Plus from the Windows Apps menu or through Linux
Applications menu.
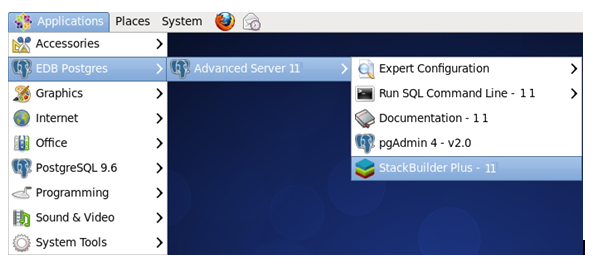
Starting StackBuilder Plus
When StackBuilder Plus opens, follow the onscreen instructions. Select
the EnterpriseDB OCI Connector option from the Database Drivers node of
the tree control.
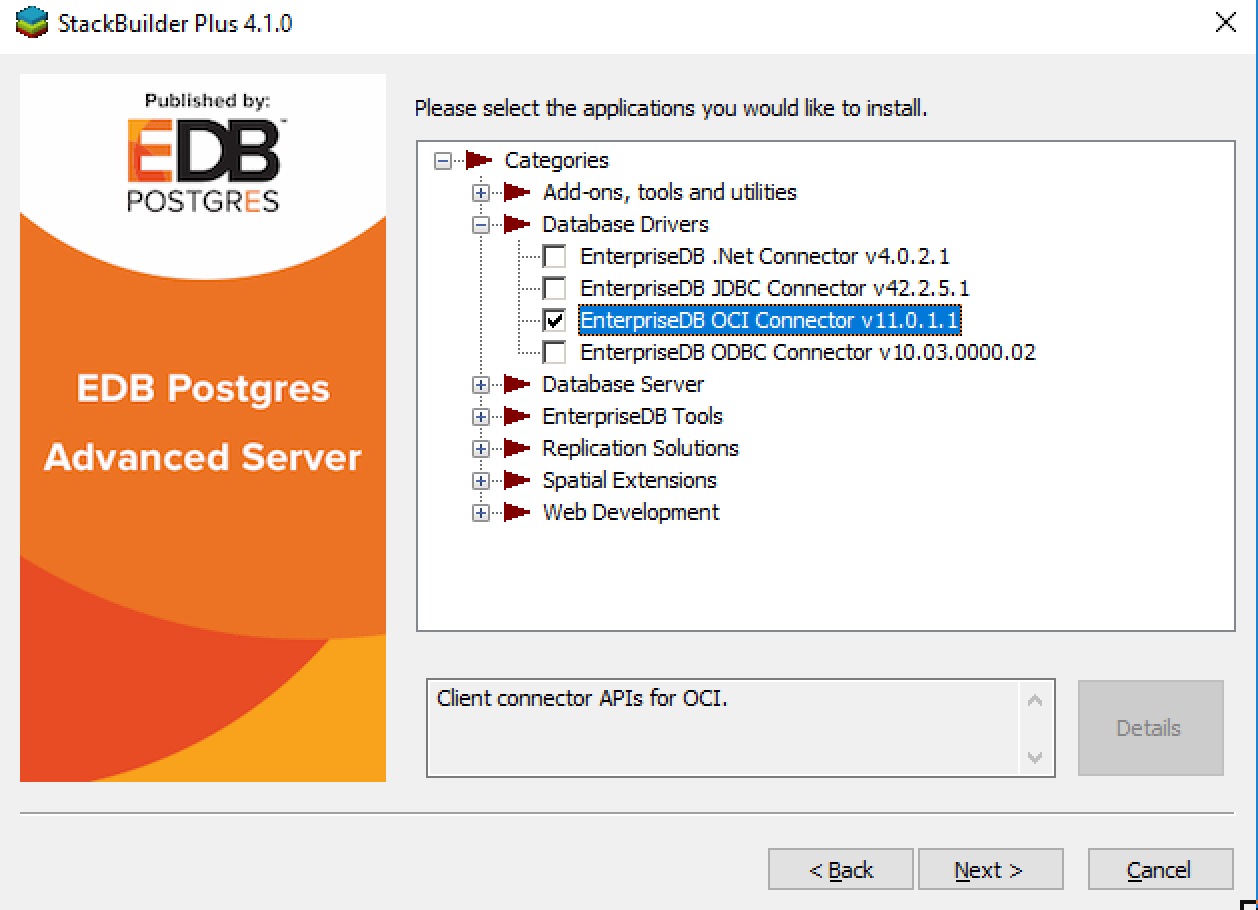
Selecting the Connectors installer
Follow the directions of the onscreen wizard to add or update an installation of the EnterpriseDB Connectors.