Using the Graphical Installer
Graphical installers for PgBouncer are available via StackBuilder Plus (for Advanced Server hosts) or Stack Builder (on PostgreSQL hosts). You can access StackBuilder Plus through your Windows or Linux start menu; after opening StackBuilder Plus and selecting the installation for which you wish to install PgBouncer, expand the component selection screen tree control to select and download the PgBouncer installer.
After downloading the PgBouncer installer, double-click the icon to
start the PgBouncer installer. Select an installation language, and
click OK to continue.
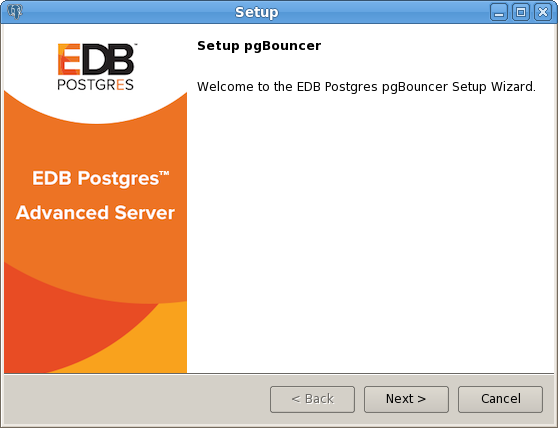
The PgBouncer Welcome window
The PgBouncer installer welcomes you to the setup wizard, as shown in Figure above.

The Installation Directory window
Use the Installation Directory field to specify the directory in which
you wish to install the PgBouncer software. Then, click
Next to continue.

The Advanced Server Installation Details window
Use fields on the EDB Postgres Advanced Server Installation Details
window to provide connection information for the
Advanced Server host:
Use the
Hostfield to identify the system on which Advanced Server resides.Provide the name of the role that PgBouncer will use for connections to the server in the
User Namefield.Provide the password associated with the role in the
Passwordfield.Use the
Portfield to identify the listener port that Advanced Server monitors for client connections.
Then, click Next to continue.
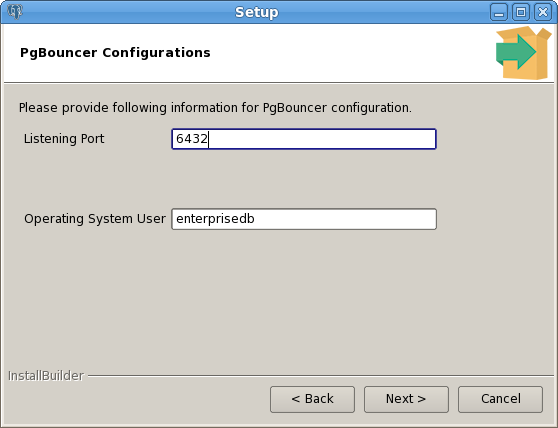
The PgBouncer Configuration window
Use fields on the PgBouncer Configuration window to
provide your preferences for the PgBouncer installation:
Use the
Listening Portfield to specify the port that PgBouncer monitors for connections.Use the
Operating System Userfield to specify the name of the Linux operating system user that PgBouncer will change to after startup. This option is not supported on Windows hosts.
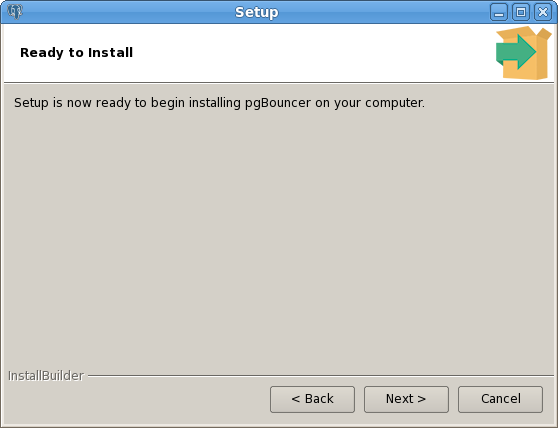
The Ready to Install window
The Ready to Install window notifies you when the
installer has all of the information needed to install PgBouncer on your
system. Click Next to install PgBouncer.
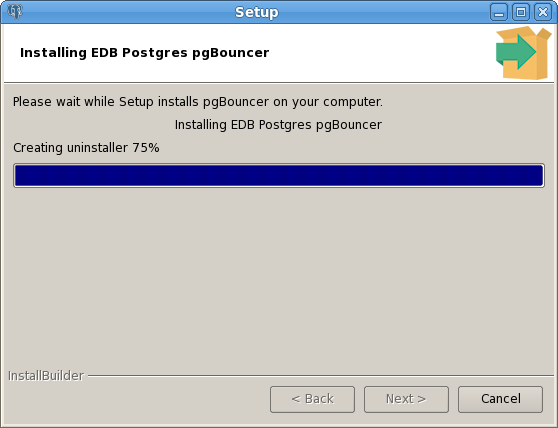
Installing EDB Postgres PgBouncer
Progress bars inform you as the installation progresses.
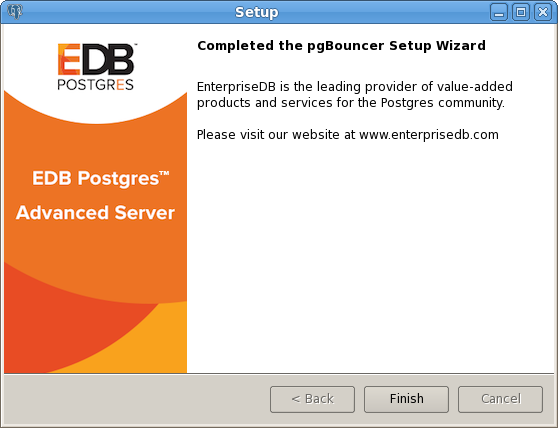
The installation is complete
The installer notifies you when the setup wizard has completed the
PgBouncer installation. Click Finish to exit the
installer.