Installing Slony Replication on a Windows Host
Graphical installers for Slony Replication are available via StackBuilder Plus (for Advanced Server hosts) or Stack Builder (on PostgreSQL hosts). You can access StackBuilder Plus through your Windows start menu.
Perform the following steps to install Slony Replication:
Open StackBuilder Plus and select your Advanced Server installation from the drop-down list on the
Welcomewindow. ClickNextto continue to the application selection page.
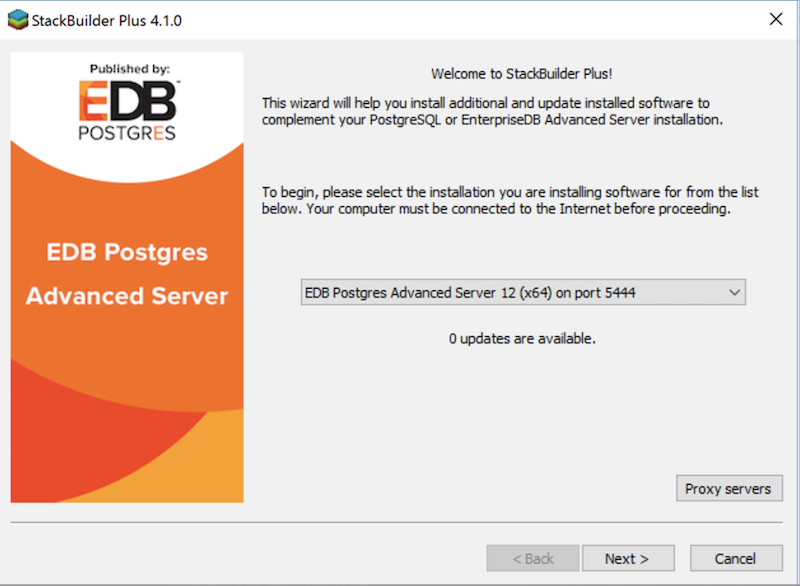
The StackBuilder Plus Welcome window
Expand the
Replication Solutionsnode, and check the box next to the Slony Replication version. ClickNextto continue.
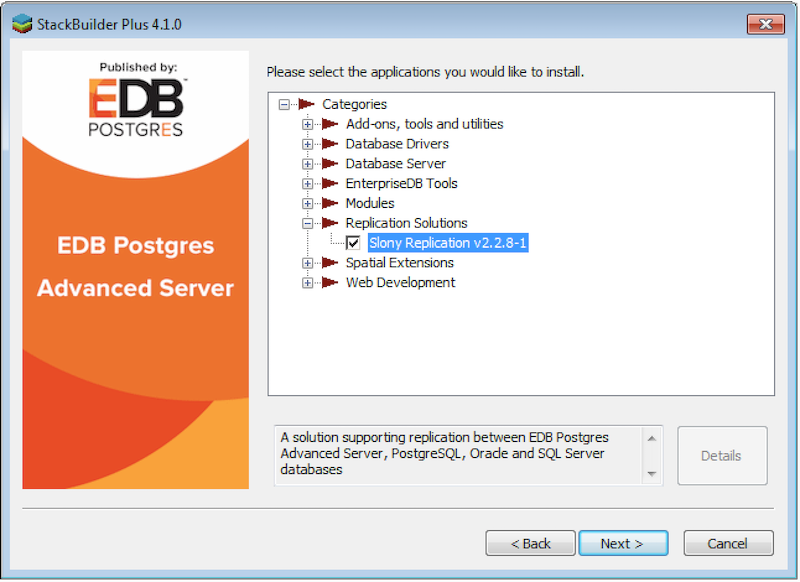
The Slony Selection window
The selected packages and the default download directory are displayed. Change the download directory location if required. Click
Next.
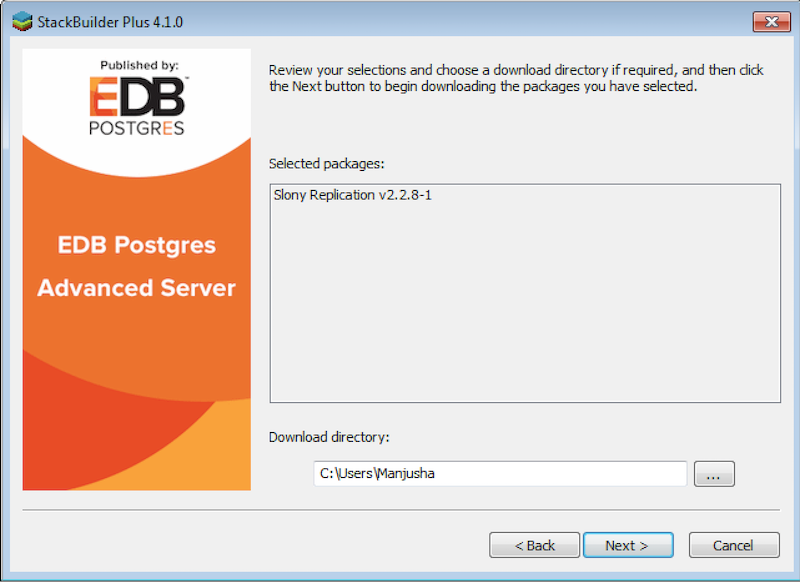
The Slony Selected Packages Window
Once you have downloaded the installation files, a confirmation message is displayed. Click
Nextto start the Slony Replication installation.
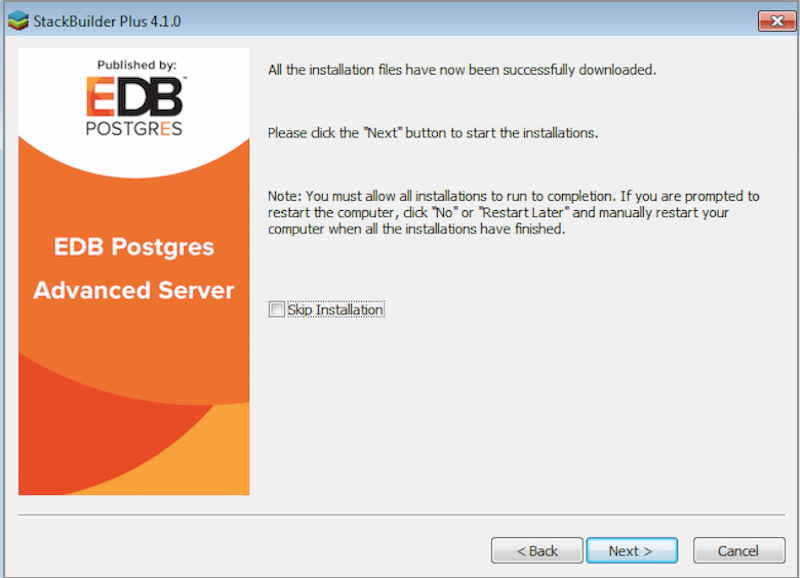
Installing Slony png
Select an installation language and click
OK.
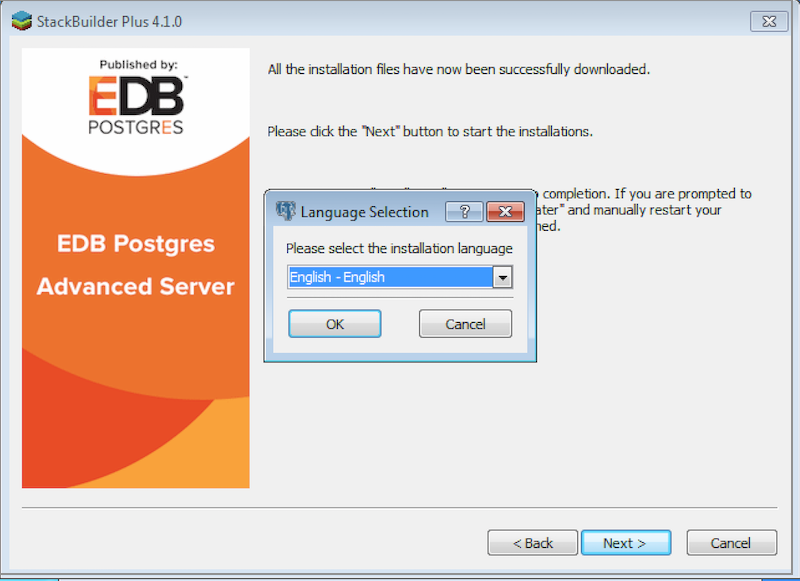
The Slony language selection window
The installer welcomes you to the setup wizard. Click
Next.
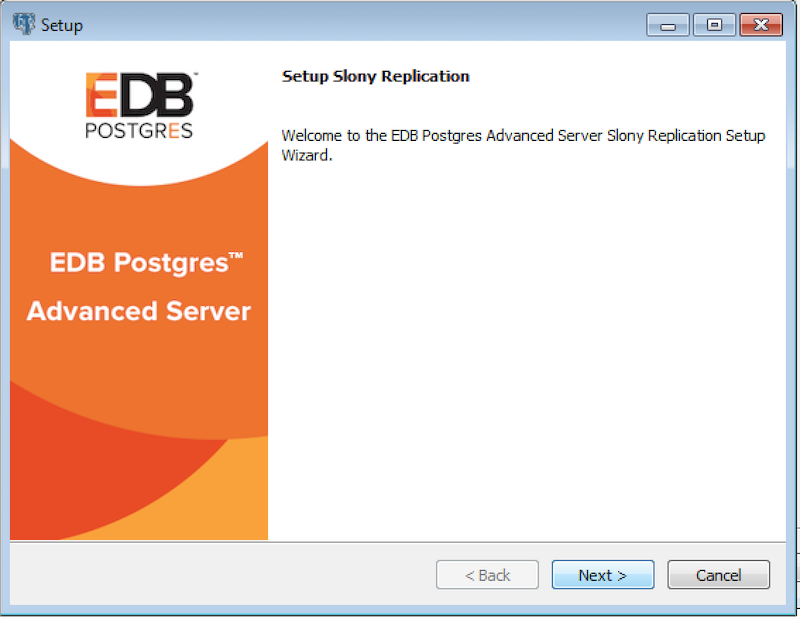
The Slony Welcome window
Use the
Installation Directoryfield to specify the directory in which you wish to install Slony Replication. Then, clickNextto continue.

The Installation Directory window
The
Ready to Installwindow notifies you when the installer has all of the information needed to install Slony Replication on your system. ClickNextto install Slony Replication. Progress bars inform you as the installation progresses.
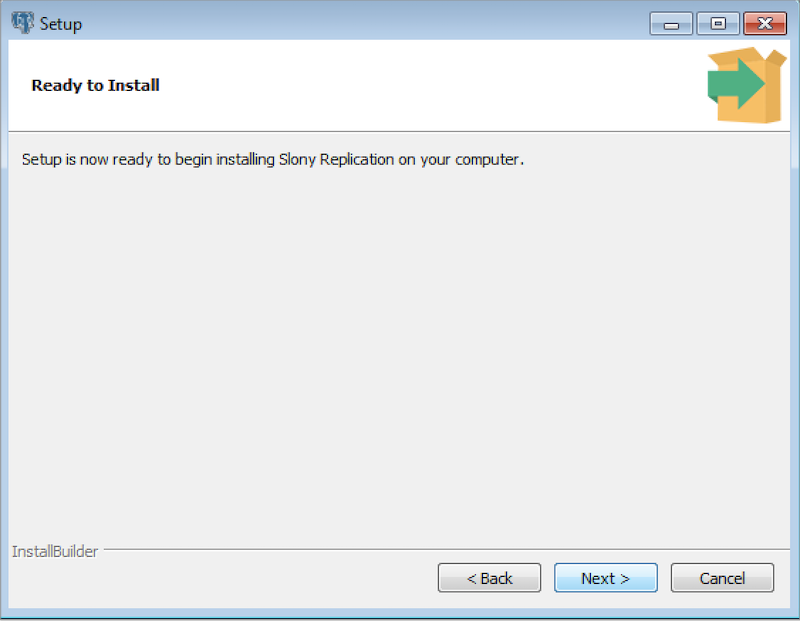
The Ready to Install window
The installer notifies you when the setup wizard has completed the installation. Click
Finishto exit the installer.
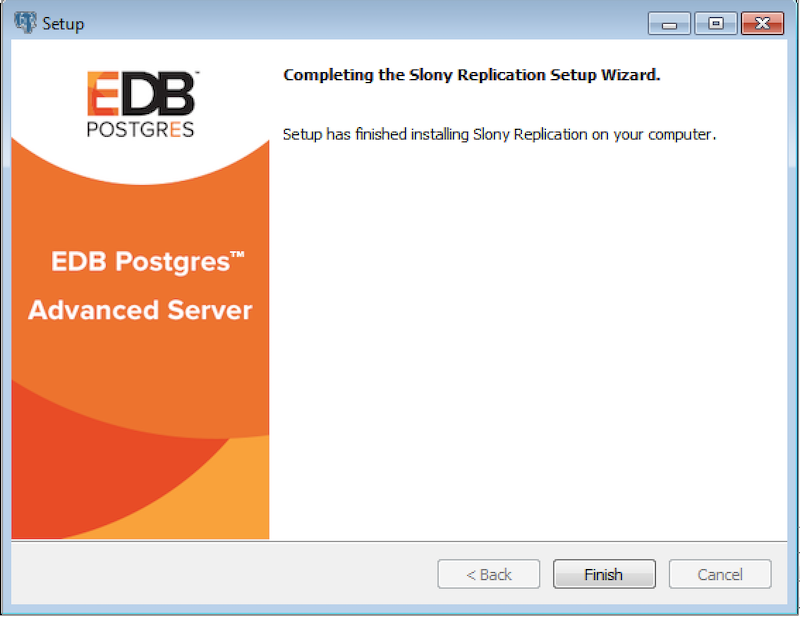
The installation is complete
Click
Finishto exit the StackBuilder Plus.
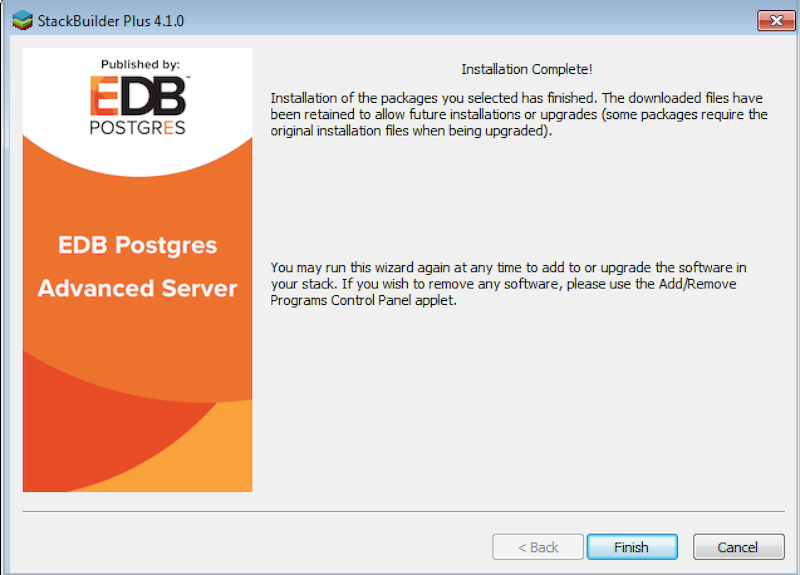
Exit StackBuilder Plus