Installing Migration Toolkit
Before installing Migration Toolkit, you must install Java (version 1.8.0 or later).
To install Migration Toolkit, you must have credentials that allow access to the EnterpriseDB repository. To request credentials for the repository, visit the EnterpriseDB website at:
https://www.enterprisedb.com/repository-access-request
The following are the various installation methods:
[Installing Migration Toolkit on a CentOS or RHEL Host](#rpm_installation)
[Installing Migration Toolkit on a CentOS, or RHEL 7 ppc64le Host](#rhel_centos_ppcle_installation)
[Installing Migration Toolkit on a Debian or Ubuntu Host](#debian_or_ubuntu_installation)
[Installing Migration Toolkit on a SLES Host](#sles_installation)
[Installing Migration Toolkit on Windows](#windows_installation)
[Installing Migration Toolkit on Mac OS X](#mac_installation)
Installing Migration Toolkit on a CentOS or RHEL 7 and 8 Host
You can use an RPM package to install Migration Toolkit on a CentOS or RHEL host. The following steps provide detailed information about accessing the EnterpriseDB repository and installing Migration Toolkit.
Creating a Repository Configuration File
To create the repository configuration file, assume superuser privileges and invoke the following command:
On RHEL or CentOs 7:
*  *   yum -y install https://yum.enterprisedb.com/edb-repo-rpms/
*  *   edb-repo-latest.noarch.rpm
On RHEL or CentOs 8:
*   dnf -y install https://yum.enterprisedb.com/edb-repo-rpms/
*   edb-repo-latest.noarch.rpm
The repository configuration file is named
edb.repo. The file resides in/etc/yum.repos.d.
After creating the
edb.repofile, use your choice of editor to ensure that the value of theenabledparameter is1, and replace theusernameandpasswordplaceholders in thebaseurlspecification with the name and password of a registered EnterpriseDB user.
*   [edb]
*   name=EnterpriseDB RPMs $releasever - $basearch
*   baseurl=https://<username>:<password>@yum.enterprisedb.com/
*   edb/
*   redhat/rhel-$releasever-$basearch
*   enabled=1
*   gpgcheck=1
*   gpgkey=file:///etc/pki/rpm-gpg/ENTERPRISEDB-GPG-KEY
After saving your changes to the configuration file, install the EPEL repository:
On RHEL or CentOS 7:
*  *   yum -y install https://dl.fedoraproject.org/pub/epel/
*  *   epel-release-latest-7.noarch.rpm
On RHEL or Centos 8:
*   dnf -y install https://dl.fedoraproject.org/pub/epel/
*   epel-release-latest-8.noarch.rpm
If you are using RHEL or CentOS 8.x, you must enable an additional repository to resolve dependencies:
On CentOS 8 (Powertools repo):
* dnf config-manager --set-enabled PowerTools
On RHEL 8 (codeready-builder-for-rhel-8- \* -rpms repo):
*   ARCH=$( /bin/arch )
*   subscription-manager repos --enable "codeready-builder-for
*   -rhel-8-${ARCH}-rpms"
Installing Migration Toolkit
On RHEL or CentOs 7:
* * yum -y install edb-migrationtoolkit
On RHEL or CentOs 8:
* dnf -y install edb-migrationtoolkit
When you install an RPM package that is signed by a source that is not
recognized by your system, yum may ask for your permission to import the
key to your local server. If prompted, and you are satisfied that the
packages come from a trustworthy source, enter a y, and press
Return to continue.
During the installation, yum may encounter a dependency that it cannot resolve. If it does, it will provide a list of the required dependencies that you must manually resolve.
After installing Migration Toolkit, you must configure the installation. Perform the following steps before invoking Migration Toolkit.
Using Migration Toolkit with IDENT Authentication
By default, the pg_hba.conf file for the RPM installer enforces
IDENT authentication for remote clients. Before invoking Migration
Toolkit, you must either modify the pg_hba.conf file, changing the
authentication method to a form other than IDENT (and restarting the
server), or perform the following steps to ensure that an IDENT
server is accessible:
Confirm that an
identdserver is installed and running. You can use the yum package manager to install anidentdserver by invoking the command:
`yum install xinetd authd`
The command should create a file named `/etc/xinetd.d/auth` that contains:
*   service auth
*   {
*   disable       = yes
*   socket_type   = stream
*   wait          = no
*   user          = ident
*   cps           = 4096 10
*   instances     = UNLIMITED
*   server        = /usr/sbin/in.authd
*   server_args   = -t60 --xerror --os
*   }
!!! Note
If the file includes a `-E` argument at the end of `server_args`, please erase the `-E`.
Then, to start the
identdserver, invoke the commands:
*   systemctl enable xinetd
*   systemctl start xinetd
Open the
pg_ident.conffile and create a user mapping:
*   # map_name system_username postgres_username
*   edbas enterprisedb enterprisedb
Where:
The name specified in the
map_namecolumn is a user-defined name that will identify the mapping in the pg_hba.conf file. - The name specified in thesystem_usernamecolumn is enterprisedb. - The name specified in thepostgres_usernamecolumn is enterprisedb.
Open the
pg_hba.conffile and modify theIDENTentries.
On an IPv4 host:
host all all 127.0.0.0/0 ident map=edbasOn an IPv6 host:
host all all ::1/128 ident map=edbas
Restart the EDB Postgres Advanced Server service before invoking Migration Toolkit.
Upgrading an RPM Installation
If you have an existing RPM installation, you can use yum to upgrade
your repository configuration file and update to a more recent product
version. To update the edb.repo file, assume superuser privileges and
enter:
yum upgrade edb-repo
yum will update the edb.repo file to enable access to the current EnterpriseDB repository, configured to connect with the credentials specified in your edb.repo file. Then, you can use yum to upgrade Migration toolkit:
yum upgrade edb-migrationtoolkit
Installing Migration Toolkit on a CentOS, or RHEL 7 ppc64le Host
You can use an RPM package to install Migration Toolkit on a CentOS or RHEL ppc64le host.
Before installing Migration toolkit , you must:
Create the Advance Toolchain repository configuration file; assume superuser privileges and invoke the following command:
*   rpm --import https://public.dhe.ibm.com/software/server/POWER/
*   Linux/toolchain/at/redhat/RHEL7/gpg-pubkey-6976a827-5164221b
After creating the
advance-toolchain.repofile, use your choice of editor to ensure that the value of theenabledparameter is1, and replace theusernameandpasswordplaceholders in thebaseurlspecification with the name and password of a registered EnterpriseDB user.
*   [advance-toolchain]
*   name=Advance Toolchain IBM FTP
*   baseurl=https://public.dhe.ibm.com/software/server/POWER/
*   Linux/toolchain/at/redhat/RHEL7
*   failovermethod=priority
*   enabled=1
*   gpgcheck=1
*   gpgkey=ftp://public.dhe.ibm.com/software/server/POWER/Linux/
*   toolchain/at/redhat/RHELX/gpg-pubkey-6976a827-5164221b
The following steps provide detailed information about accessing the EnterpriseDB repository and installing Migration Toolkit.
Creating a Repository Configuration File
To create the EDB repository configuration file, assume superuser privileges and invoke the following command:
*  *   yum -y install https://yum.enterprisedb.com/edb-repo-rpms/
*  *   edb-repo-latest.noarch.rpm
The repository configuration file is named
edb.repo. The file resides in/etc/yum.repos.d.
After creating the
edb.repofile, use your choice of editor to ensure that the value of theenabledparameter is1, and replace theusernameandpasswordplaceholders in thebaseurlspecification with the name and password of a registered EnterpriseDB user.
*   [edb]
*   name=EnterpriseDB RPMs $releasever - $basearch
*   baseurl=https://<username>:<password>@yum.enterprisedb.com/edb/
*   redhat/rhel-$releasever-$basearch
*   enabled=1
*   gpgcheck=1
*   gpgkey=file:///etc/pki/rpm-gpg/ENTERPRISEDB-GPG-KEY
After saving your changes to the configuration file, install the EPEL package:
*  *   yum -y install https://dl.fedoraproject.org/pub/epel/
*  *   epel-release-latest-7.noarch.rpm
If you are using RHEL 7 ppc64le, you must enable an additional repository to resolve dependencies:
*   subscription-manager repos --enable "rhel-*-optional-rpms"
*   --enable "rhel-*-extras-rpms"  --enable "rhel-ha-for-rhel-*
*   -server-rpms"
To install Migration Toolkit, run the following command.
* * yum -y install edb-migrationtoolkit
Installing Migration Toolkit on a Debian or Ubuntu Host
To install a package with apt, complete the following steps. When
invoking the commands, replace the username and password with
the user credentials provided by EnterpriseDB.
Assume superuser privileges:
* sudo su –
Configure the EnterpriseDB repository:
On Debian 9, perform the following step to configure the EnterpriseDB repository:
*       sh -c 'echo "deb https://username:password@apt.
*       enterprisedb.com/$(lsb_release -cs)-edb/ $(lsb_release
*       -cs) main" > /etc/apt/sources.list.d/edb-$(lsb_release
*       -cs).list'
On Debian 10, perform the following steps to configure the EnterpriseDB repository:
a. Set up the EnterpriseDB repository:
*       sh -c 'echo "deb [arch=amd64] https://
*       apt.enterprisedb.com/
*       $(lsb_release -cs)-edb/ $(lsb_release -cs) main"
*       > /etc/
*       apt/sources.list.d/edb-$(lsb_release -cs).list'
b. Substitute your EnterpriseDB credentials for the `username` and `password` placeholders in the following command:
*       sh -c 'echo "machine apt.enterprisedb.com login <username>
*       password <password>" > /etc/apt/auth.conf.d/edb.conf'
c. Add support to your system for secure APT repositories:
* apt-get install apt-transport-https
d. Add the EBD signing key:
*       wget -q -O - https://username:password
*       @apt.enterprisedb.com/edb-deb.gpg.key | apt-key add -
e. Update the repository metadata:
* apt-get update
f. Install the `edb-migrationtoolkit` package:
* apt-get -y install edb-migrationtoolkit
Installing Migration Toolkit on a SLES Host
You can use the zypper package manager to install a Migration toolkit on an SLES 12 host. zypper will attempt to satisfy package dependencies as it installs a package, but requires access to specific repositories that are not hosted at EnterpriseDB.
You must assume superuser privileges and stop any firewalls before installing Migration Toolkit. Then, use the following commands to add EnterpriseDB repositories to your system:
*   zypper addrepo https://zypp.enterprisedb.com/suse/
*   edb-sles.repo
The command creates the repository configuration files in the /etc/zypp/repos.d directory. Use the following command to refresh the metadata on your SLES host to include the EnterpriseDB repository:
* * zypper refresh
When prompted, provide credentials for the repository; specify
ato always trust the provided key and update the metadata to include the EnterpriseDB repository.
You must also add SUSEConnect and the SUSE Package Hub extension to the SLES host, and register the host with SUSE, allowing access to SUSE repositories. Use the commands:
*   SUSEConnect -r 'REGISTRATION_CODE' -e 'EMAIL'
*    SUSEConnect -p PackageHub/12.4/x86_64
*    SUSEConnect -p sle-sdk/12.4/x86_64
Install SUSEConnect to register the host with SUSE, allowing access to SUSE repositories:
*   zypper addrepo https://download.opensuse.org/repositories/
*   Apache:/Modules/SLE_12_SP4/Apache:Modules.repo
Use the following command to refresh the metadata:
* * zypper refresh
Install OpenJDK (version 1.8) for Java based components:
* zypper -n install java-1_8_0-openjdk
Now you can use the zypper utility to install a Migration Toolkit:
* zypper -n install edb-migrationtoolkit
For detailed information about registering a SUSE host, visit:
Installing Migration Toolkit on Windows
You can use the graphical installer to install the Migration Toolkit on Windows. You can download the installer from www.enterprisedb.com.
Once you download the installer, right-click the installer icon, and
select Run As Administrator from the context menu. When the
Language Selection popup opens, select an installation language and
click OK to continue to the Setup window.
!!! Note * This guide uses the term Stack Builder to refer to either StackBuilder Plus (distributed with EDB Postgres Advanced Server) or Stack Builder (distributed with the PostgreSQL one-click installer from EnterpriseDB).
You must have a Java JVM (version 1.8.0 or later) in place before Stack Builder can perform a Migration Toolkit installation.
The Java executable must be in your search path (%PATH% on Windows)
Use the following commands to set the search path (substituting the name
of the directory that holds the Java executable for javadir):
On Windows, use the command:
SET PATH=javadir;%PATH%
On Linux, use the command:
PATH=javadir:$PATH
After setting the search path, you can use the Stack Builder installation wizard to install Migration Toolkit into either EDB Postgres Advanced Server or PostgreSQL.
Launching StackBuilder Plus from EDB Postgres Advanced Server
To launch StackBuilder Plus from an existing EDB Postgres Advanced
Server installation, navigate through the Start (or
Applications) menu to the EDB Postgres menu; open the
EDB Add-ons menu, and select the StackBuilder Plus menu option.
Launching Stack Builder from PostgreSQL
To launch Stack Builder from a PostgreSQL installation, navigate through
the Start (or Applications) menu to the PostgreSQL menu, and
select the Application StackBuilder Plus menu option.
Stack Builder opens as shown below.
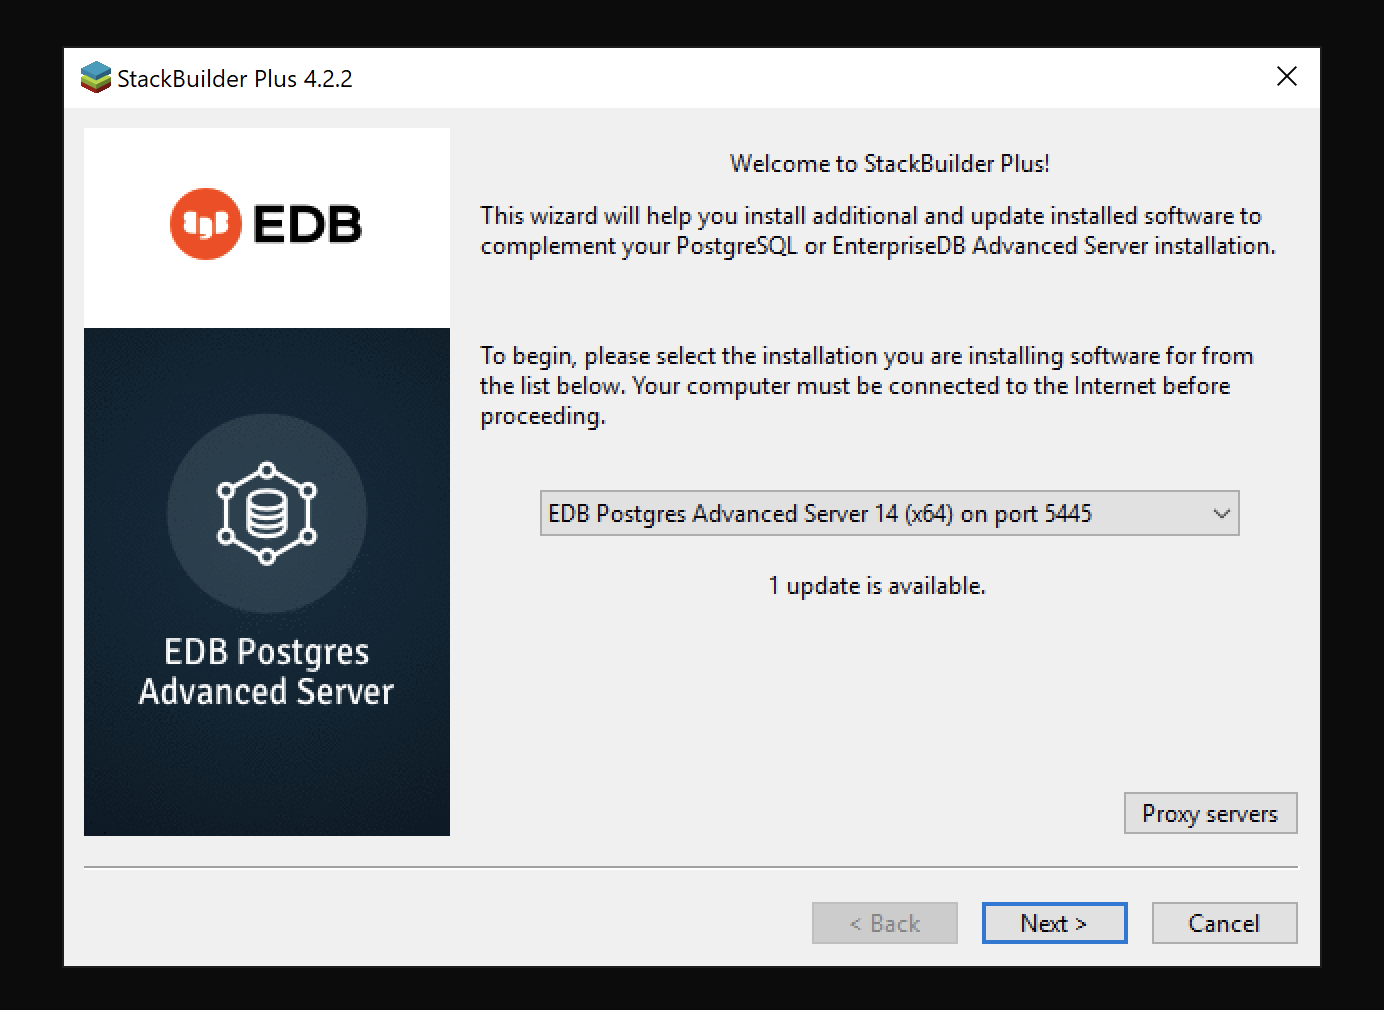
The Stack Builder welcome window.
The Stack Builder welcome window*
Use the drop-down listbox to select the target server installation from
the list of available servers. If your network requires you to use a
proxy server to access the Internet, use the Proxy servers button to
open the Proxy servers dialog and specify a server; if you do not
need to use a proxy server, click Next to open the application
selection window.
If you are using StackBuilder Plus to add Migration Toolkit to your EDB
Postgres Advanced Server installation, expand the
Add-ons, tools and utilities node of the tree control, and check the
box next to EnterpriseDB Migration Toolkit. Click Next to
continue.
!!! Note * If you are using Stack Builder to add Migration Toolkit to
your PostgreSQL installation, expand the EnterpriseDB Tools node of
the tree control
(located under the Registration-required and trial productsnode),
and select Migration Toolkit checkbox. Click Next to continue.

The Stack Builder application selection window.
The Stack Builder application selection window*
Confirm that Migration Toolkit is included in the Selected Packages
list and that the Download directory field contains an acceptable
download location.
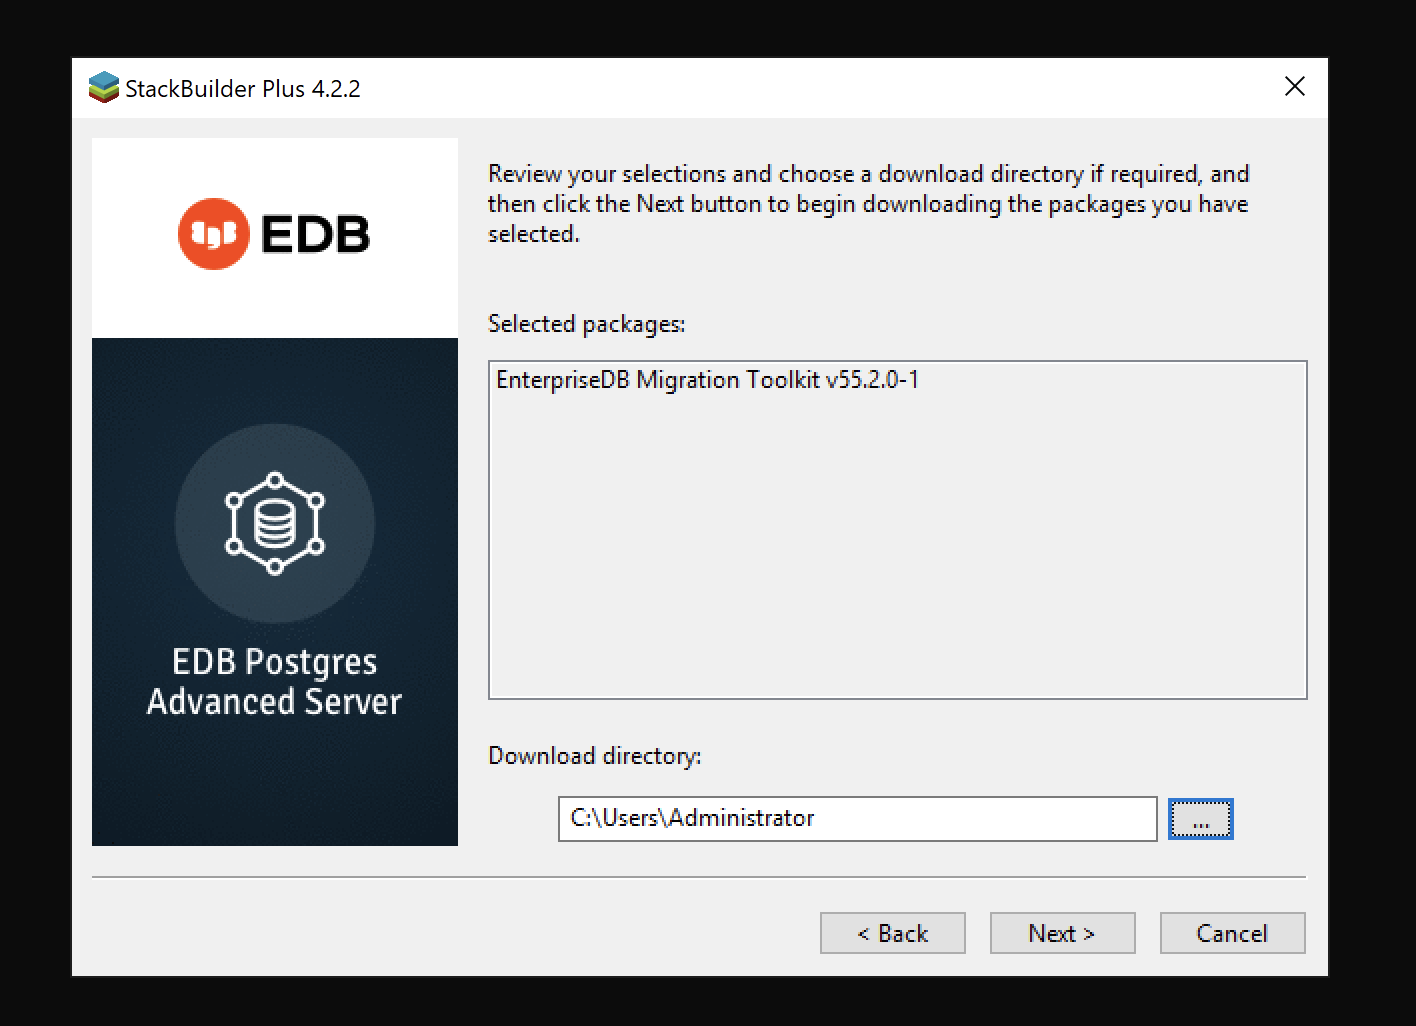
The Stack Builder selection confirmation window.
The Stack Builder selection confirmation window*
Click Next to start the Migration Toolkit download.

Stack Builder confirms the file download.
Stack Builder confirms the file download*
When the download completes, Stack Builder confirms that the
installation files have been successfully downloaded. Choose Next to
open the Migration Toolkit installation wizard.
When prompted by the Migration Toolkit installation wizard, specify a
language for the installation and click OK to continue.
The Migration Toolkit installation wizard opens. Click Next to
continue.
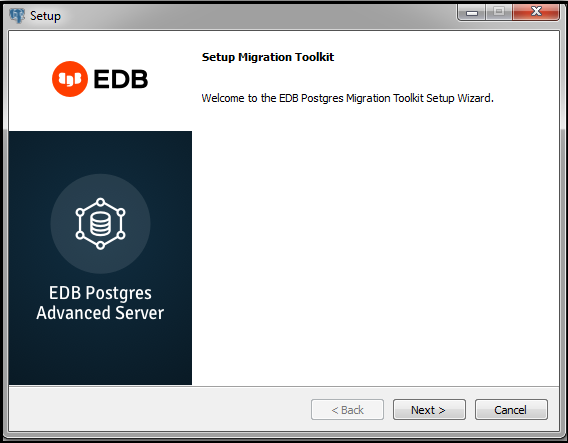
The Migration Toolkit installation wizard.
The Migration Toolkit installation wizard*
Carefully review the license agreement before highlighting the
appropriate radio button; click Next to continue.
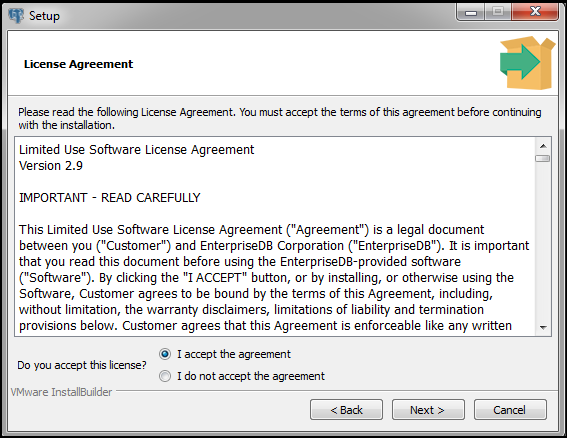
The EnterpriseDB license agreement.
The EnterpriseDB license agreement*
By default, Migration Toolkit will be installed in the mtk
directory; accept the default installation directory as displayed, or
modify the directory, and click Next to continue.
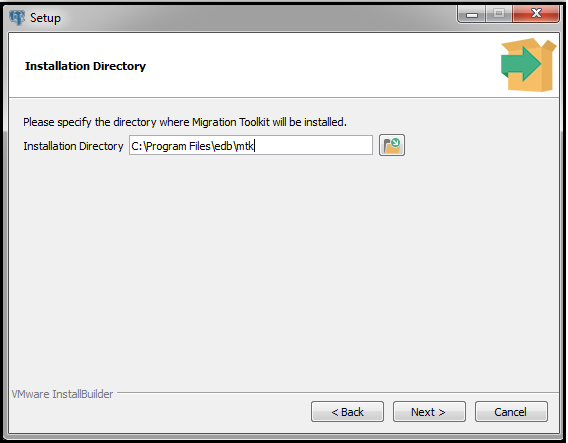
Specify a Migration Toolkit installation directory.
Specify a Migration Toolkit installation directory*
The installation wizard confirms that the Setup program is ready to
install Migration Toolkit; click Next to start the installation.
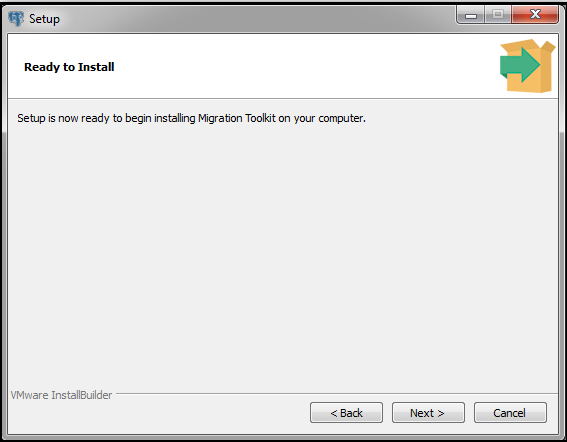
Setup is ready to start the Migration Toolkit installation.
Setup is ready to start the Migration Toolkit installation*
A dialog confirms that the Migration Toolkit installation is complete;
click Finish to exit the Migration Toolkit installer.
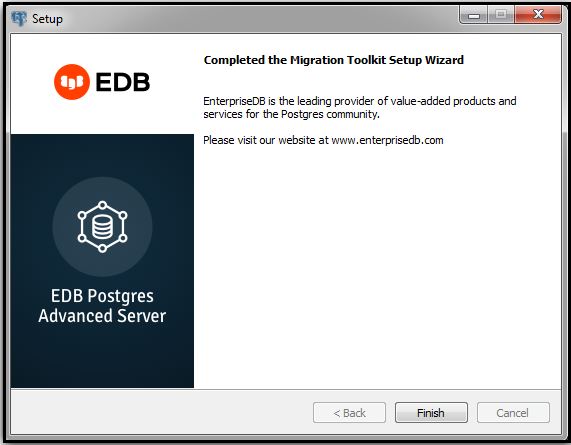
The Migration Toolkit wizard has finished.
The Migration Toolkit wizard has finished*
When Stack Builder finalizes installation of the last selected
component, it displays the Installation Completed window. Click
Finish to close Stack Builder.
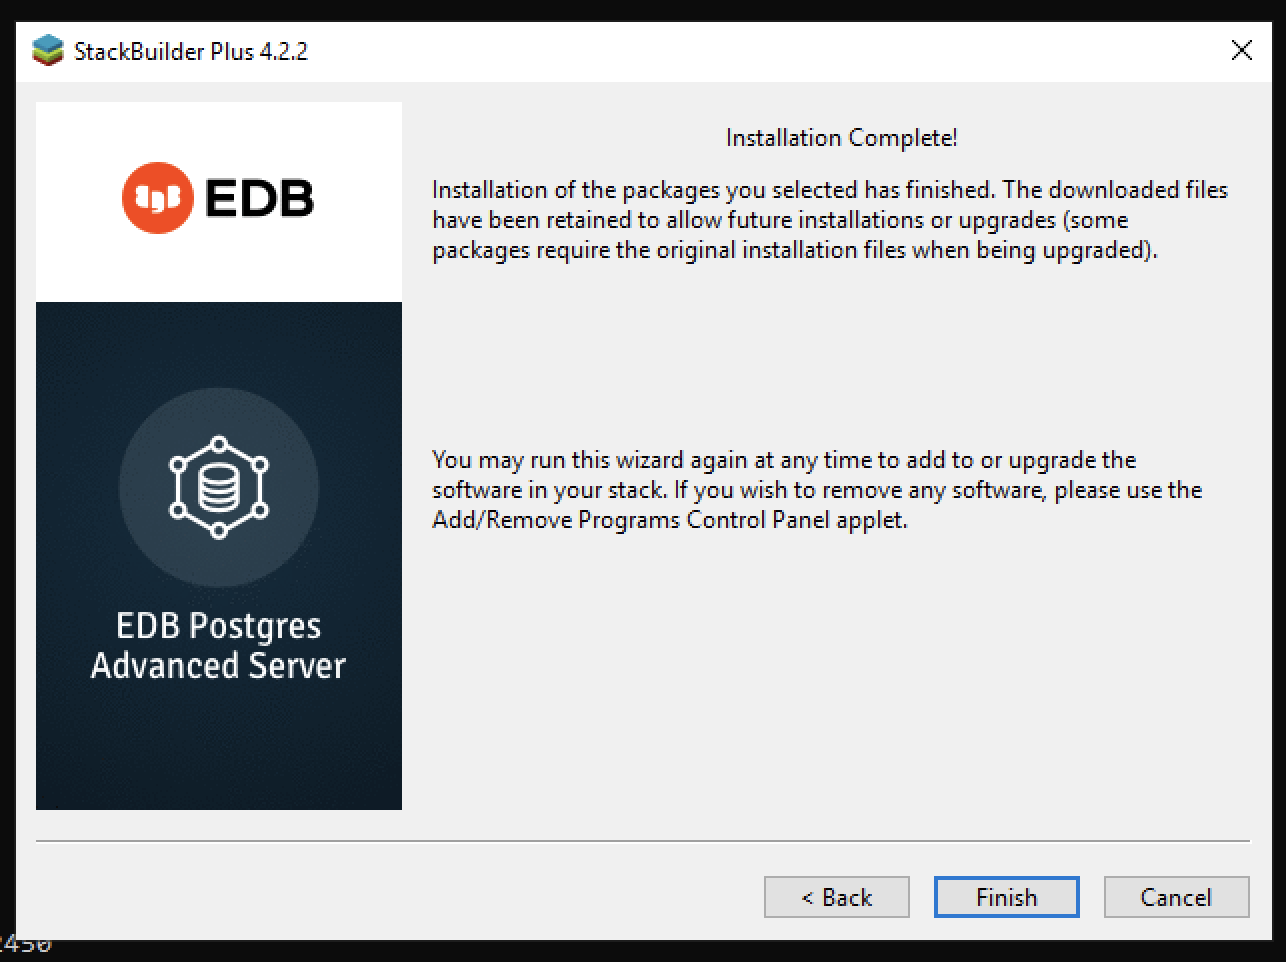
Stack Builder confirms the installation is complete.
Stack Builder confirms the installation is complete*
After installing Migration Toolkit with Stack Builder, you must install the appropriate source-specific drivers before performing a migration; please see Installing Source-Specific Drivers for more information.
Installing Migration Toolkit on Mac OS X
You can use the graphical installer to install the Migration Toolkit on Mac OS X. To download the installer, visit www.enterprisedb.com.
To launch the installer:
Navigate to the file path in the terminal:
/User/Directory>/Downloads/edb-migrationtoolkit-55.2.0-1-osx.app/Contents/MacOS
Assume superuser privileges and invoke the following command:
* ./installbuilder.sh
On the
Language Selectionpopup opens, select an installation language and clickOKto continue to theSetupwindow.The Migration Toolkit installation wizard opens. Click
Nextto continue.
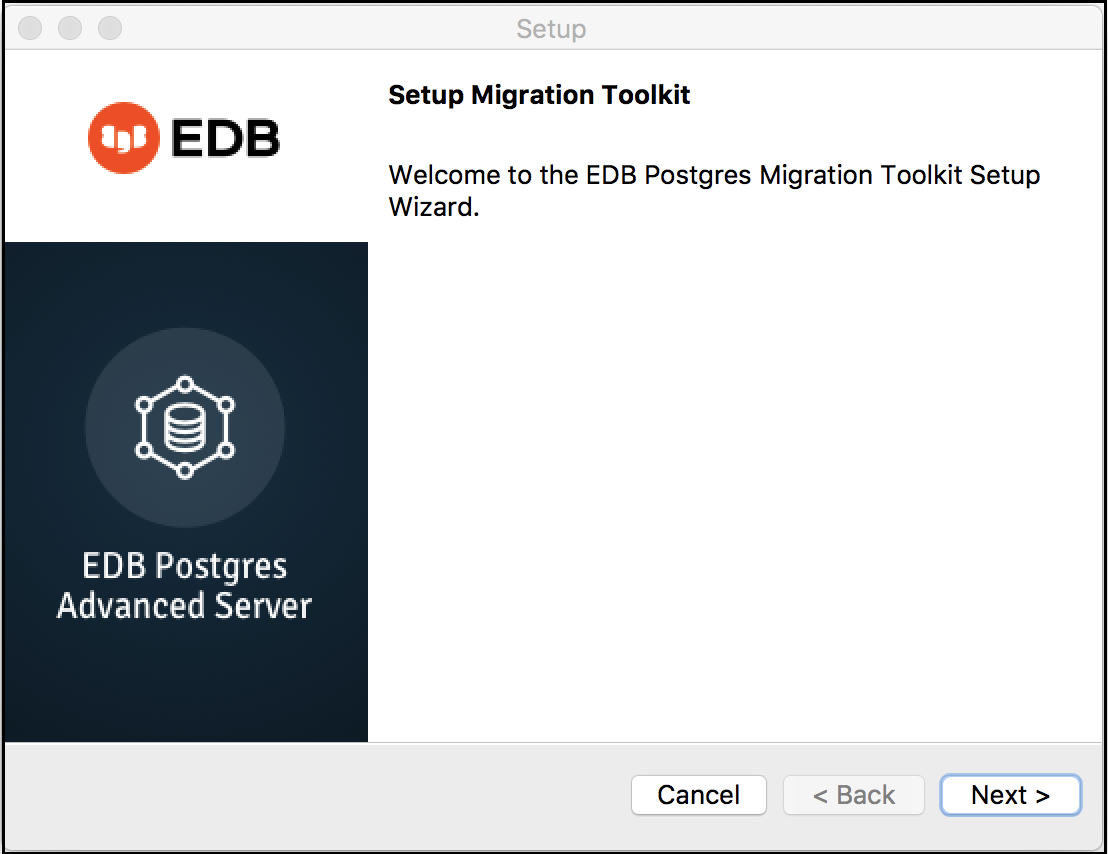
The Migration Toolkit installation wizard.
The Migration Toolkit installation wizard*
Carefully review the license agreement before highlighting the appropriate radio button; click
Nextto continue.
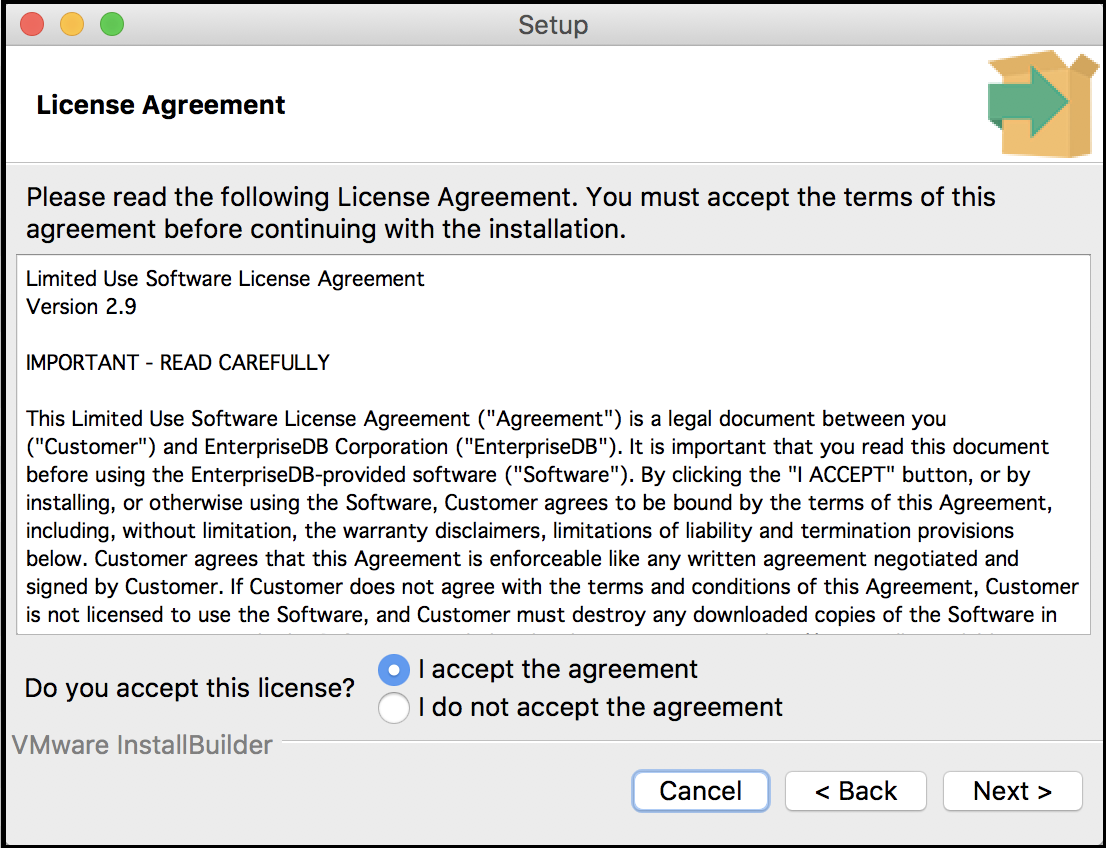
The EnterpriseDB license agreement.
The EnterpriseDB license agreement*
By default, Migration Toolkit will be installed in the mtk
directory; accept the default installation directory as displayed, or
modify the directory, and click Next to continue.
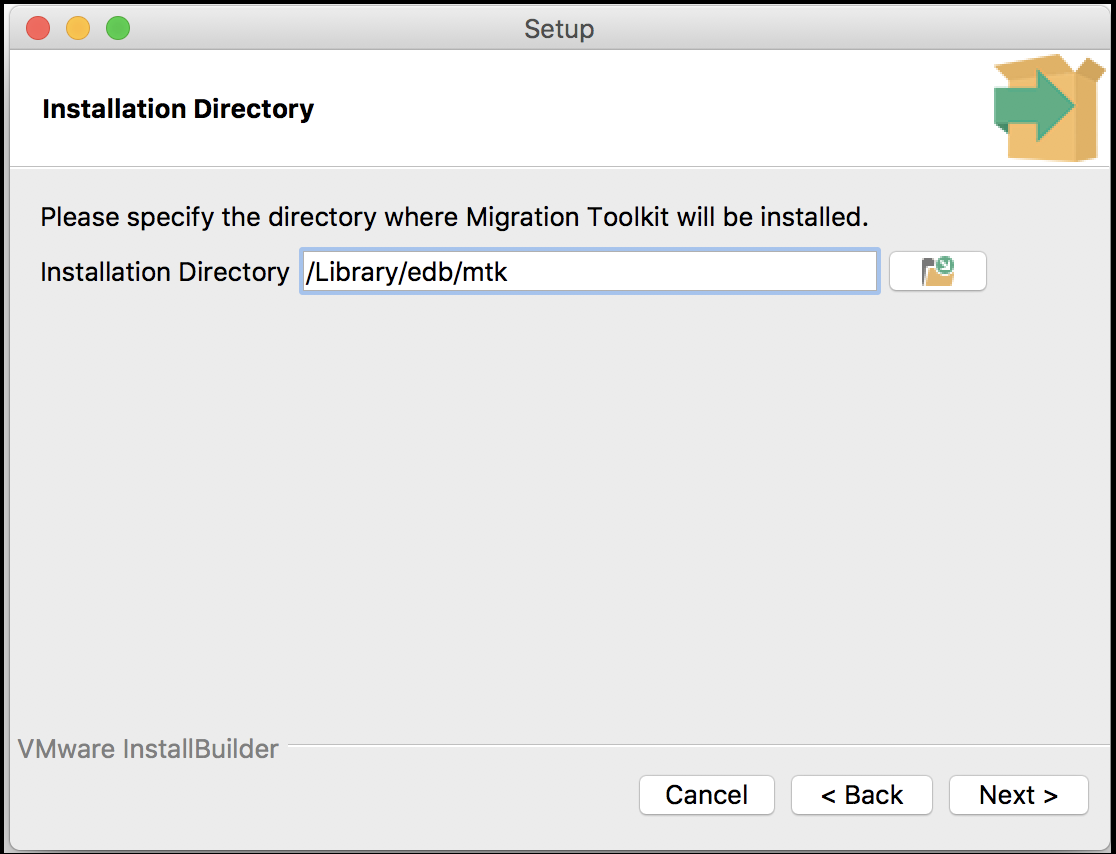
Specify a Migration Toolkit installation directory.
Specify a Migration Toolkit installation directory*
The installation wizard confirms that the Setup program is ready to
install Migration Toolkit; click Next to start the installation.
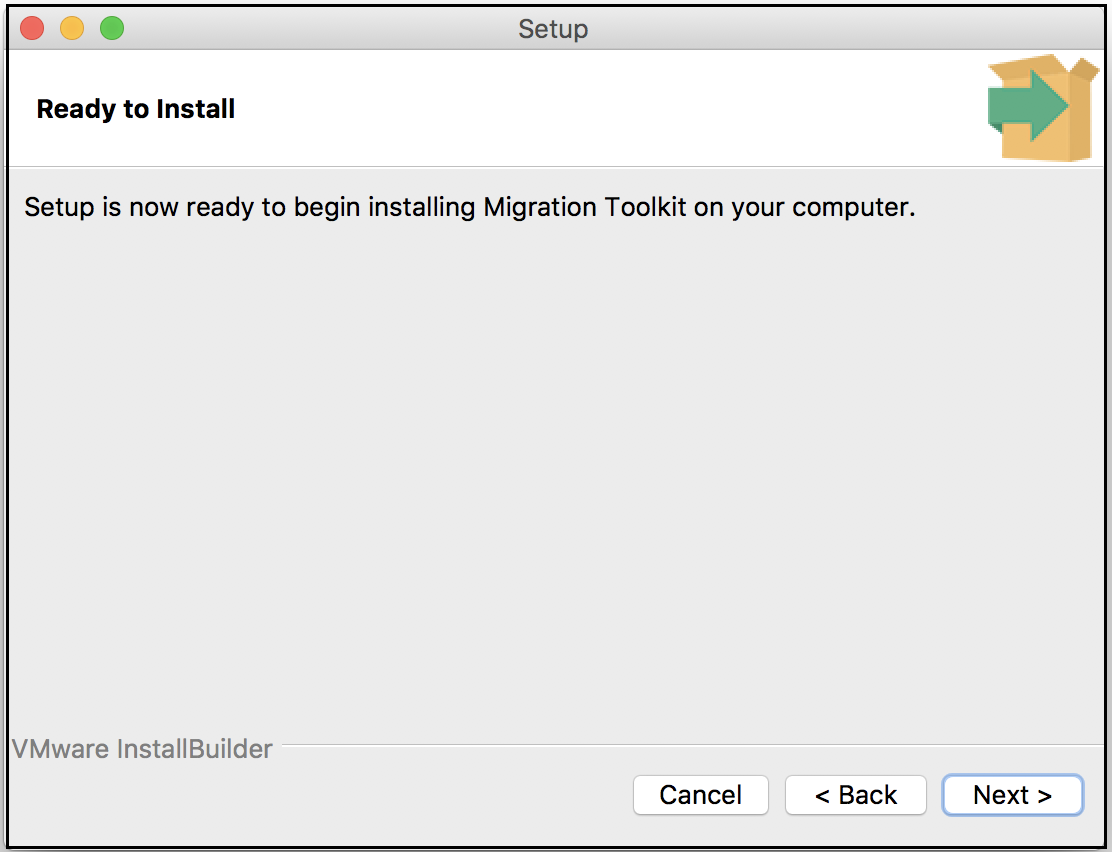
Setup is ready to start the Migration Toolkit installation.
Setup is ready to start the Migration Toolkit installation*
A dialog confirms that the Migration Toolkit installation is complete;
click Finish to exit the Migration Toolkit installer.
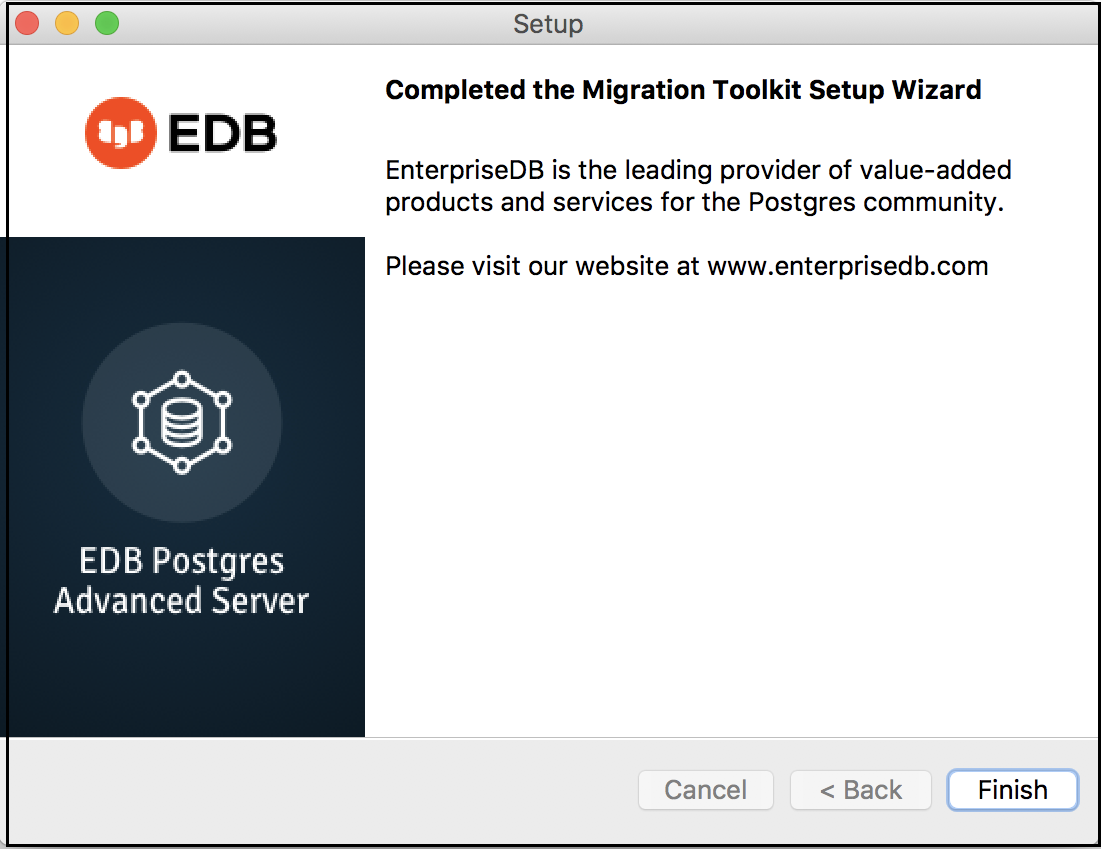
The Migration Toolkit wizard has finished.
The Migration Toolkit wizard has finished.*
Installing Source-Specific Drivers
Before invoking Migration Toolkit, you must download and install a
freely available source-specific driver. To download a driver, or for a
link to a vendor download site, visit the Third Party JDBC Drivers
section of the Advanced Downloads page at the EnterpriseDB website:
https://www.enterprisedb.com/software-downloads-postgres#third-party-jdbc-drivers
After downloading the source-specific driver, move the driver file into
the <mtk_install_dir>/lib directory.