Installing Migration Toolkit on Windows
You can use the graphical installer to install the Migration Toolkit on Windows. You can download the installer from www.enterprisedb.com.
Once you download the installer, right-click the installer icon, and select Run As Administrator from the context menu. When the Language Selection popup opens, select an installation language and click OK to continue to the Setup window.
Note
This guide uses the term Stack Builder to refer to either StackBuilder Plus (distributed with EDB Postgres Advanced Server) or Stack Builder (distributed with the PostgreSQL one-click installer from EnterpriseDB).
You must have a Java JVM (version 1.7.0 or later) in place before Stack Builder can perform a Migration Toolkit installation.
The Java executable must be in your search path (%PATH% on Windows)
Use the following commands to set the search path (substituting the name of the directory that holds the Java executable for javadir):
On Windows, use the command:
SET PATH=javadir;%PATH%
After setting the search path, you can use the Stack Builder installation wizard to install Migration Toolkit into either EDB Postgres Advanced Server or PostgreSQL.
The Java executable must be in your search path (%PATH% on Windows,
$PATH on Linux/Unix). Use the following commands to set the search path
(substituting the name of the directory that holds the Java executable
for javadir):
On Windows, use the command:
SET PATH=javadir;%PATH%On Linux, use the command:
PATH=javadir:$PATH
After setting the search path, you can use the Stack Builder installation wizard to install Migration Toolkit into either EDB Postgres Advanced Server or PostgreSQL.
Launching StackBuilder Plus from EDB Postgres Advanced Server
To launch StackBuilder Plus from an existing EDB Postgres Advanced Server
installation, navigate through the Start (or Applications) menu to the
EDB Postgres menu; open the EDB Add-ons menu, and select the
StackBuilder Plus menu option.
Launching Stack Builder from PostgreSQL
To launch Stack Builder from a PostgreSQL installation, navigate through
the Start (or Applications) menu to the PostgreSQL menu, and select the
Application StackBuilder Plus menu option.
Stack Builder opens as shown below.
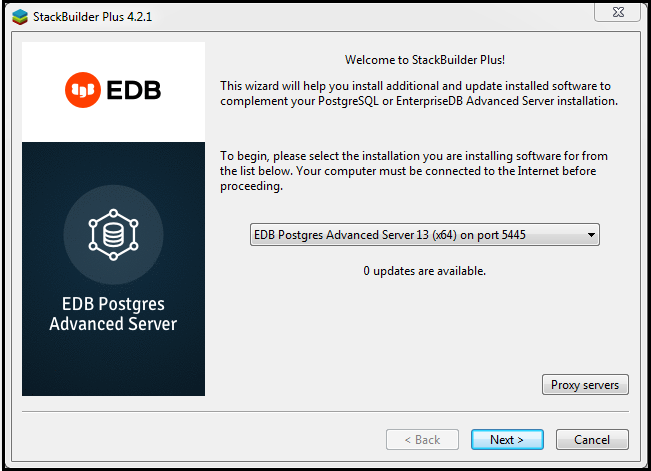
The Stack Builder welcome window.
Use the drop-down listbox to select the target server installation from
the list of available servers. If your network requires you to use a
proxy server to access the Internet, use the Proxy servers button to
open the Proxy servers dialog and specify a server; if you do not
need to use a proxy server, click Next to open the application selection
window.
If you are using StackBuilder Plus to add Migration Toolkit to your
EDB Postgres Advanced Server installation, expand the Add-ons, tools and utilities
node of the tree control, and check the box next to EnterpriseDB
Migration Toolkit. Click Next to continue.
Note
If you are using Stack Builder to add Migration Toolkit to your PostgreSQL installation, expand the EnterpriseDB Tools node of the tree control (located under the Registration-required and trial productsnode), and select Migration Toolkit checkbox. Click Next to continue.
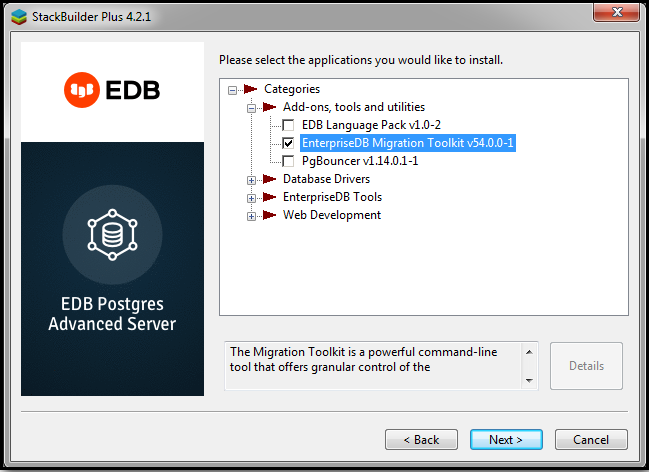
The Stack Builder application selection window.
Confirm that Migration Toolkit is included in the Selected Packages list
and that the Download directory field contains an acceptable download
location.
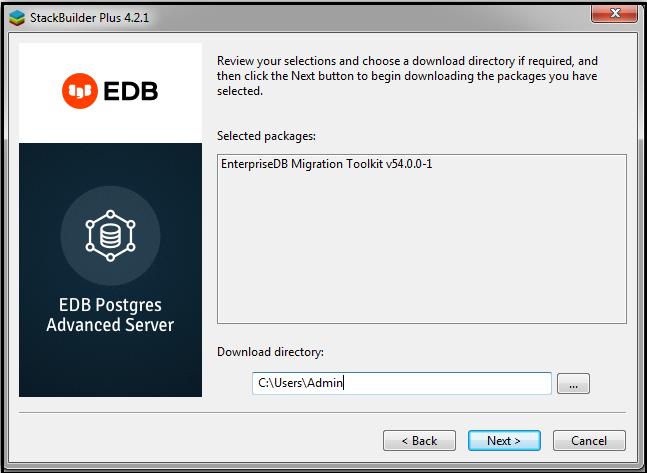
The Stack Builder selection confirmation window.
Click Next to start the Migration Toolkit download.
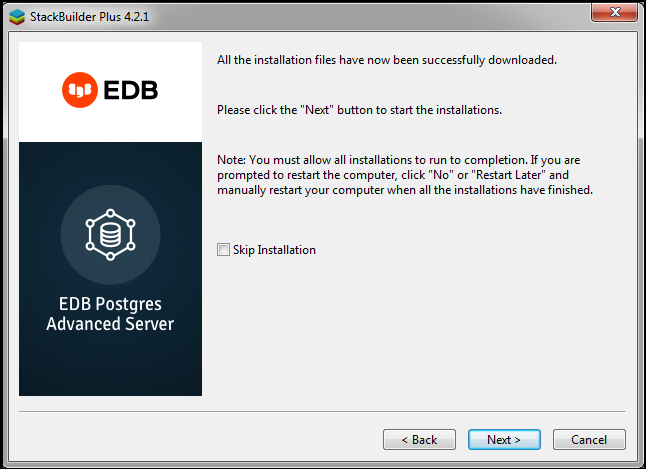
Stack Builder confirms the file download.
When the download completes, Stack Builder confirms that the
installation files have been successfully downloaded.
Choose Next to open the Migration Toolkit installation wizard.
When prompted by the Migration Toolkit installation wizard, specify a
language for the installation and click OK to continue.
The Migration Toolkit installation wizard opens. Click Next to continue.
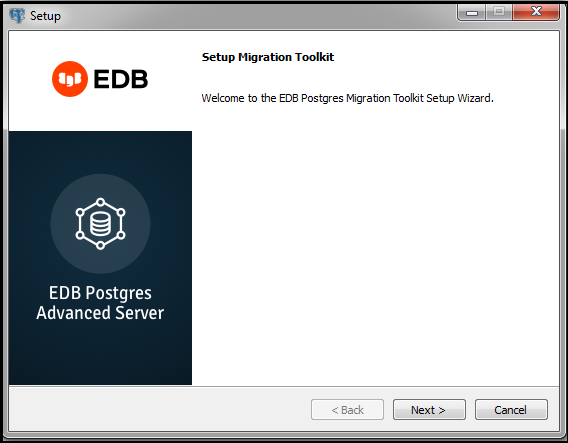
The Migration Toolkit installation wizard.
Carefully review the license agreement before highlighting the appropriate radio button; click Next to continue.
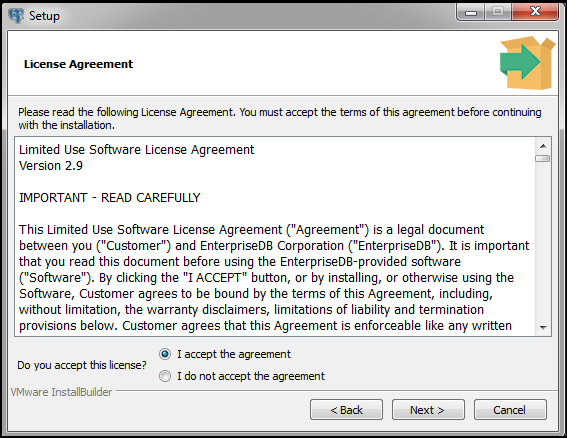
The EnterpriseDB license agreement.
By default, Migration Toolkit will be installed in the mtk directory;
accept the default installation directory as displayed, or modify the
directory, and click Next to continue.
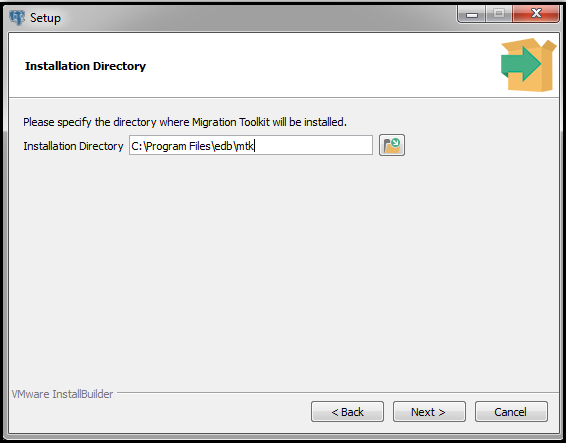
Specify a Migration Toolkit installation directory.
The installation wizard confirms that the Setup program is ready to
install Migration Toolkit; click Next to start
the installation.
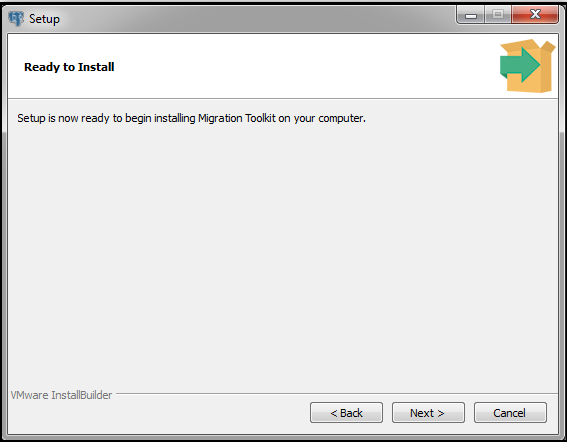
Setup is ready to start the Migration Toolkit installation.
A dialog confirms that the Migration Toolkit installation is complete; click
Finish to exit the Migration Toolkit installer.
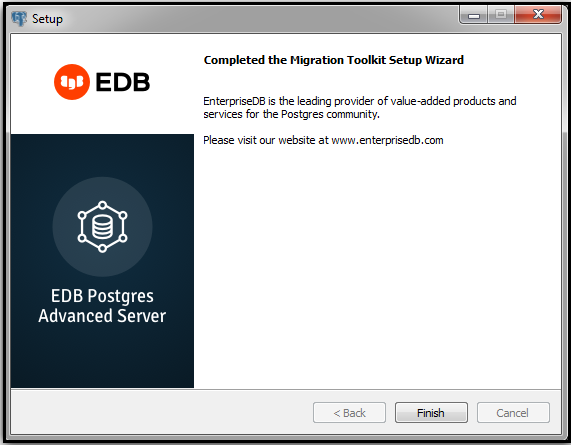
The Migration Toolkit wizard has finished.
When Stack Builder finalizes installation of the last selected
component, it displays the Installation Completed window. Click Finish to close Stack Builder.
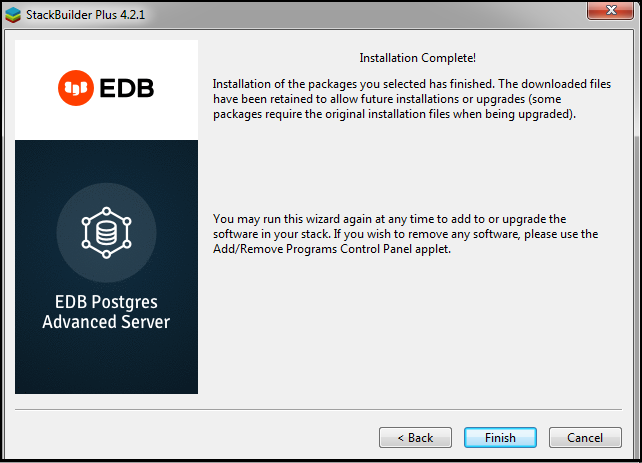
Stack Builder confirms the installation is complete.
After installing Migration Toolkit with Stack Builder, you must install the appropriate source-specific drivers before performing a migration; please see Installing Source-Specific Drivers for more information.