Installing PostGIS
The following table lists the latest PostGIS versions and their corresponding Advanced Server versions.
The PostGIS version required by your Advanced Server installation is version-specific, but the documented and supported functionality of each version is the same. The information in this guide applies to each version listed in the table below.
PostGIS Version |
Supported Advanced Server Versions |
|---|---|
PostGIS 3.0.1 |
Advanced Server 12 |
PostGIS 2.5.4 |
Advanced Server 11 and 12 |
PostGIS 2.5.3 |
Advanced Server 12 |
PostGIS 2.5.1 |
Advanced Server 11 |
PostGIS 2.4.6 |
Advanced Server 9.6, 10 and 11 |
PostGIS 2.3.8 |
Advanced Server 9.6 and 10 |
PostGIS 2.1.9 |
Advanced Server 9.5 |
To view a complete list of EnterpriseDB supported platforms, visit the EnterpriseDB website.
Using an RPM Package to Install PostGIS
You must install Advanced Server before installing PostGIS. For details about installing and configuring Advanced Server, see the EDB Postgres Advanced Server Installation Guide. If you have previously used an RPM package to install Advanced Server, you have probably already created the repository configuration file and have EnterpriseDB credentials. If that is the case, you can simply install PostGIS with the command:
yum -y install edb-as<xx>-postgis-<y.y.y>
Where <xx> is the Advanced Server version and <y.y.y> is the PostGIS version you want to install. For example, to install PostgGIS 3.0.1 for Advanced Server 12, execute the following command:
yum -y install edb-as12-postgis-3.0.1
If you have removed your EnterpriseDB repository configuration file, you can use the steps in the following section to recreate it.
Creating a Repository Configuration File
The following steps provide detailed information about adding a repository configuration file to your system and installing PostGIS from an RPM package.
Use the following command to create the repository configuration file:
yum -y install https://yum.enterprisedb.com/edb-repo-rpms/edb-repo-latest.noarch.rpm
The repository configuration file is named
edb.repo; the file resides in/etc/yum.repos.d. Use your choice of editor to ensure that the value of the enabled parameter is1, and replace the<username>and<password>placeholders in thebaseurlspecification with the name and password of a registered EnterpriseDB user.[edb] name=EnterpriseDB RPMs $releasever - $basearch baseurl=https://<username>:<password>@yum.enterprisedb.com/edb/redhat/rhel-$releasever-$basearch enabled=1 gpgcheck=1 gpgkey=file:///etc/pki/rpm-gpg/ENTERPRISEDB-GPG-KEY
If you need EnterpriseDB credentials, visit the EnterpriseDB website.
After saving your changes to the configuration file, you can use the
yum installcommand to installPostGIS:yum install edb-as<xx>-postgis-<y.y.y>
Where <xx> is the Advanced Server version and <y.y.y> is the PostGIS version you want to install.
For example, to install PostGIS 3.0.1 on Advanced Server 12, execute the following command:
yum install edb-as12-postgis-3.0.1
When you install an RPM package that is signed by a source that is not recognized by your system, yum may ask for your permission to import the key to your local server. If prompted, and you are satisfied that the packages come from a trustworthy source, enter
yand pressReturnto continue.The
edb-as<xx>-postgis-<y.y.y>package installs the following PostGIS component packages:edb-as<xx>-postgis-<y.y.y> edb-as<xx>-postgis-utils edb-as<xx>-postgis-docs edb-as<xx>-postgis-core edb-as<xx>-postgis-jdbc
After installing PostGIS with a package manager, please note that you must manually create a template database and the required PostGIS extension.
Using StackBuilder Plus to Install PostGIS
You must install Advanced Server before installing PostGIS. If you have used the graphical Setup wizard to install Advanced Server, you can use StackBuilder Plus to add PostGIS to your installation. For details about using the graphical installer to install and configure Advanced Server, see the EDB Postgres Advanced Server Installation Guide for Windows.
Open StackBuilder Plus and select your Advanced Server installation from the drop-down list on the
Welcomewindow. ClickNextto continue to the application selection page.
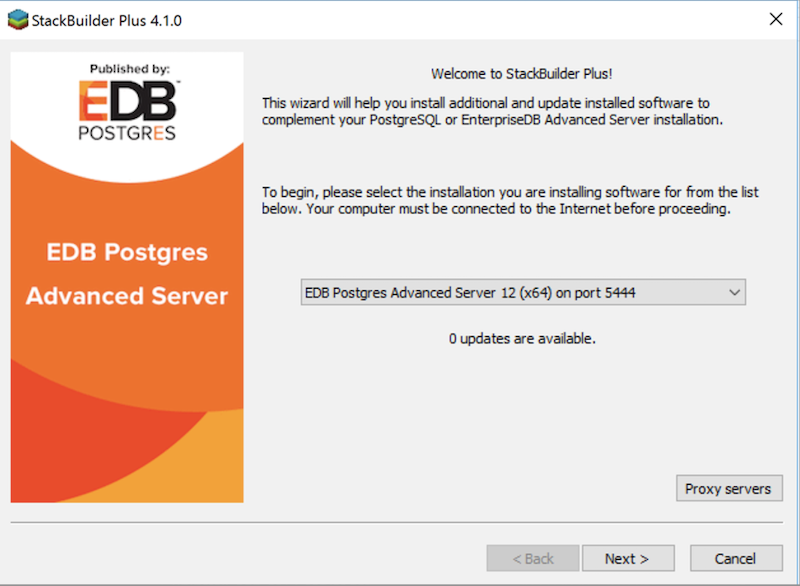
The StackBuilder Plus Welcome window
Expand the
Spatial Extensionsnode, and check the box next to the PostGIS version. ClickNextto continue.The selected packages and the default download directory where the package will be installed are displayed; change the locations if required. Click
Next.Once you have downloaded the installation files, a confirmation message is displayed. Click
Nextto start the PostGIS installation.
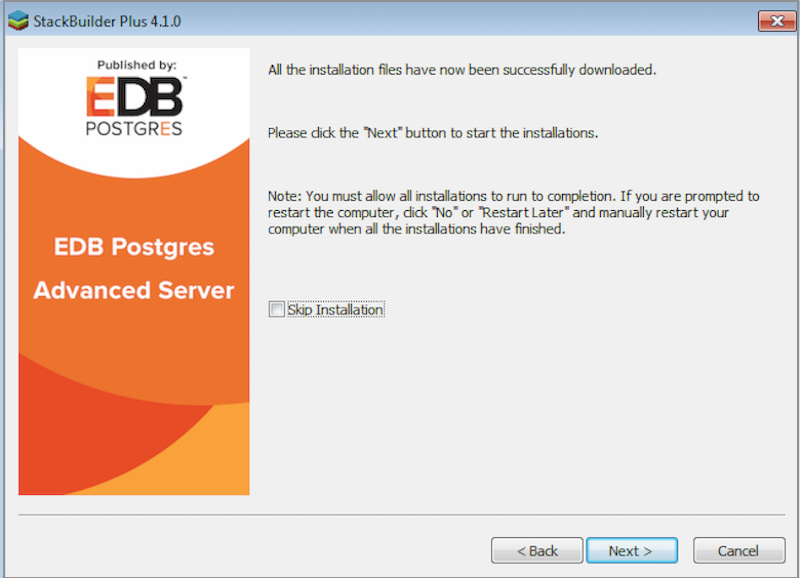
installing_postgis.png
Select an installation language and click
OK.
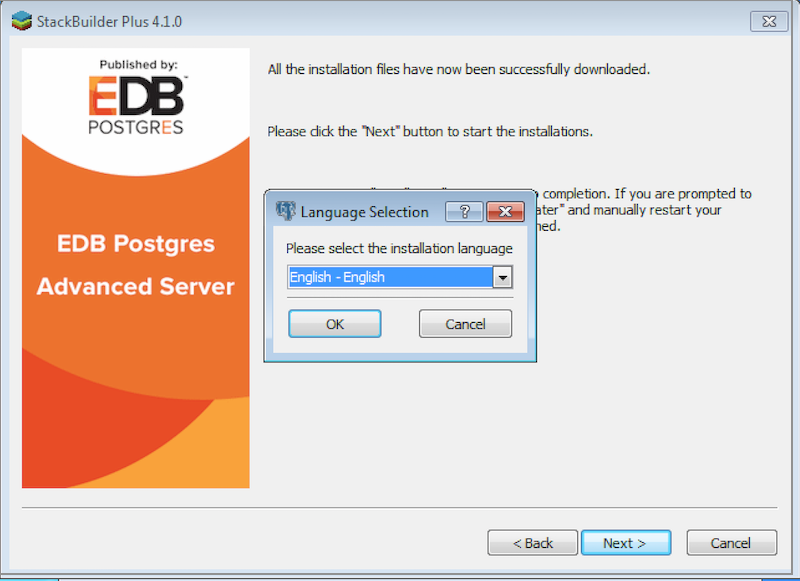
The language selection window
The PostGIS welcome screen is displayed. Click
Next.
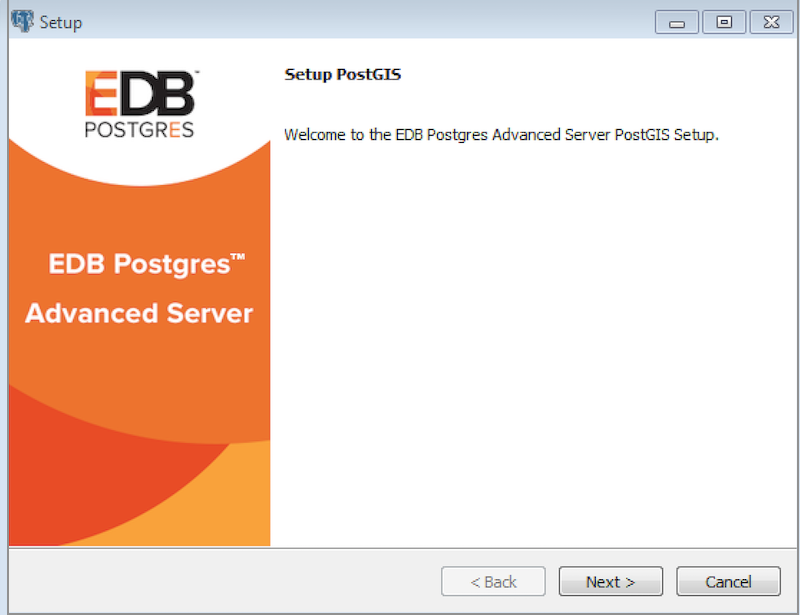
The Postgis welcome window
Use the
Installation Directoryfield to specify the directory in which you wish to install the PostGIS software. ClickNextto continue.

The Installation Directory window
Use fields on the
EDB Postgres Advanced Server Installation Detailswindow to provide connection information for the Advanced Server host:
Use the
Hostfield to identify the system on which Advanced Server resides.Provide the name of the role that PostGIS will use for connections to the server in the
User Namefield.Provide the password associated with the role in the
Passwordfield.Use the
Portfield to identify the listener port that Advanced Server monitors for client connections.
Then, click Next to continue.
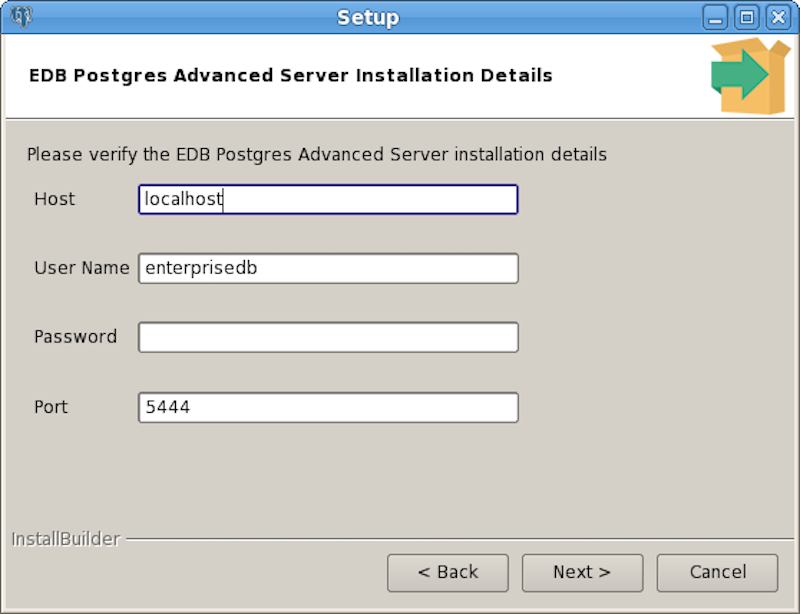
The Advanced Server installation details window
The
Ready to Installwindow notifies you when the installer has all of the information needed to install PostGIS on your system. ClickNext.
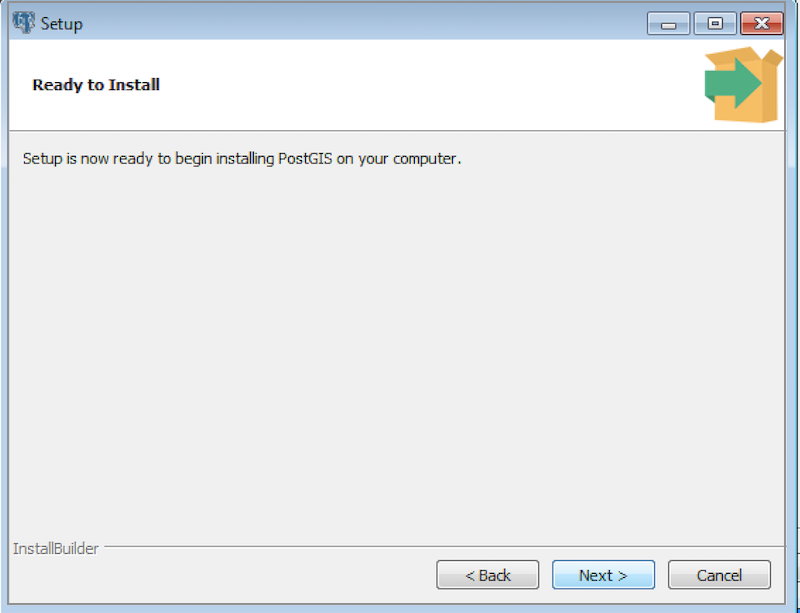
The ready to install window
Progress bars inform you as the installation progresses; click
Finishto exit the installer when the PostGIS installation completes.
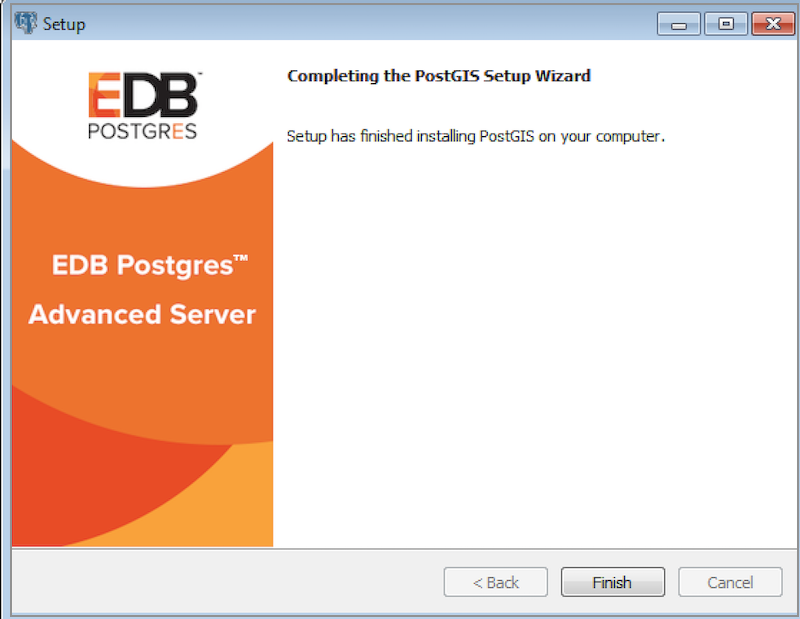
The installation is complete
StackBuilder Plus will install PostGIS, and create the template_postgis database and PostGIS functions.